Laser engraving on metal creates durable, high-quality markings by directing a precisely focused laser beam onto the surface. Unlike engraving softer materials, this process often requires specialized lasers and techniques to overcome metal’s high melting point and reflective properties.
¶ Key Laser Types for Metal Engraving
¶ Fiber Lasers
Fiber lasers are the go-to choice for direct metal engraving, operating at a wavelength of around 1064 nm that metals readily absorb. They can produce a range of effects, including:
- Engraving/Etching: Removes material to create a frosted finish or deeply incised mark.
- Annealing: Forms a dark mark by oxidizing the surface without removing material—commonly used on stainless steel.
- Color Marking: Generates various colors on certain metals (such as stainless steel) by precisely controlling the heat input.
¶ CO2 Lasers
While CO2 lasers—operating at a 10.6 micron wavelength—are primarily used for non-metal materials such as wood, acrylic, and glass, they can also mark certain metals using specialized techniques:
- Removing Coatings: Ablating (removing) paint, powder coatings, or anodized layers from metal to expose the bare surface underneath, creating contrast.
- Metal Marking Compounds: For bare metals, a special spray or paste is applied before engraving. The CO2 laser heats the compound, fusing it to the metal surface to form a dark, permanent mark. This is a surface-bonding method rather than direct material removal.
¶ Step-by-Step Guide to Metal Laser Engraving
¶ Step 1: Material Preparation
Proper preparation is key to achieving a clean, durable engraving.
1. Select the Right Metal:
- Bare Metals (e.g., stainless steel, titanium, brass, copper, certain aluminum alloys): Best engraved directly with a fiber laser for etching, annealing, or deep engraving. When using a CO2 laser, a metal marking compound (e.g., OMTech laser marking spray and powder) is required.
- Coated Metals (e.g., anodized aluminum, powder-coated steel): Both fiber and CO2 lasers can remove the coating to reveal the bare metal underneath.
2. Clean the Metal Surface: Remove grease, oil, fingerprints, dust, and debris, as these can interfere with the laser beam and cause inconsistent marking. Use isopropyl alcohol or a suitable degreaser along with a lint-free cloth.
3. Apply a Metal Marking Compound: If engraving bare metal with a CO2 laser, apply the marking spray or paste in a thin, even coat over the engraving area, following the manufacturer’s guidelines. Allow it to dry completely before proceeding.
¶ Step 2: Design Preparation
Create your engraving file using graphic design software such as Adobe Illustrator, CorelDRAW, LightBurn, or fiber-laser-specific programs like EzCad.
- Raster Images: Ideal for filled engravings such as text, logos, or photos. The laser scans across the filled areas to engrave the design.
- Vector Lines: Best for fine outlines, serial numbers, or line art without filled areas.
- Resolution: For intricate details, increase the DPI (dots per inch) or LPI (lines per inch) settings in your software to achieve sharper results.
Need inspiration? Check out our project ideas.
¶ Step 3: Machine Setup and Focusing
Accurate machine setup is essential for precise laser engraving results.
1. Choose the Right Laser Machine
- Fiber Laser: Best for direct metal engraving.
- CO2 Laser: Suitable for coated metals or when using a metal marking compound.
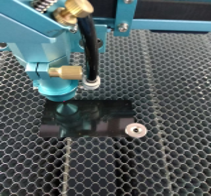
2. Position the Metal
Place the workpiece flat and secure it firmly on the laser bed using clamps, jigs, or magnetic blocks to prevent movement. For cylindrical items such as tumblers or pipes, use a rotary attachment to maintain consistent focus and marking around the curve.
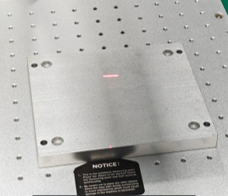
3. Focus the Laser
Proper focusing is critical for sharp, high-quality marks.
- Fiber Lasers: Use the built-in focus-finding tool or autofocus. For special effects (e.g., annealing or high-contrast marks), you may slightly adjust the focal point above or below the surface. Experimentation is the key.
- CO2 Lasers: Use the provided focus gauge or tool to set the correct distance between the laser head and the metal surface. If equipped with autofocus, use it for convenience and precision.
4. Ensure Proper Ventilation
Laser-engraving metal can release fine metal particles and fumes, especially when using marking compounds. A high-powered fume extraction system—vented directly outdoors—is essential for protecting your health and keeping your laser optics free from contamination.
5. Air Assist (Use with Care):
- Fiber Lasers: Often off or set to very low for direct metal engraving. Excess airflow can cool the surface too quickly, affecting the marking process or delicate effects like annealing. For deep engraving, moderate airflow may help clear debris.
- CO2 Lasers with marking compounds: Typically off or set to very low to avoid blowing away the compound before it bonds.
- CO2 Lasers on Coated Metals: Generally beneficial—helps remove ablated coating and reduces charring.
¶ Step 4: Laser Engraving Settings
The ideal laser settings depend on the metal type, desired finish, and your machine’s wattage and capabilities. Always test on scrap material before working on your final piece.
¶ A. Fiber Laser (Direct Metal Engraving)
- Power: Moderate to high (e.g., 20-80% on a 30W fiber laser). Higher power generally increases engraving depth or speed.
- Speed: Ranges widely (e.g., 100-4000 mm/s). Slower speeds produce deeper or darker marks, while faster speeds create lighter surface marks.
- Frequency (kHz): Controls pulse rate.
- Lower (20-50 kHz): Deeper engravings or darker annealing marks (more energy per pulse).
- Higher (50-200 kHz): Brighter, whiter marks or faster, lighter surface etching.
- Hatch/Line Interval: Spacing between scan lines (e.g., 0.01-0.05 mm). Smaller spacing yields denser, darker marks but takes more time.
- Pulse Width (MOPA Lasers): Annealing usually uses pulse widths under 10 ns, while general marking ranges from 20 to 200 ns. Adjust based on your material and desired effect.
- Passes: Multiple passes are often required for deep engraving.
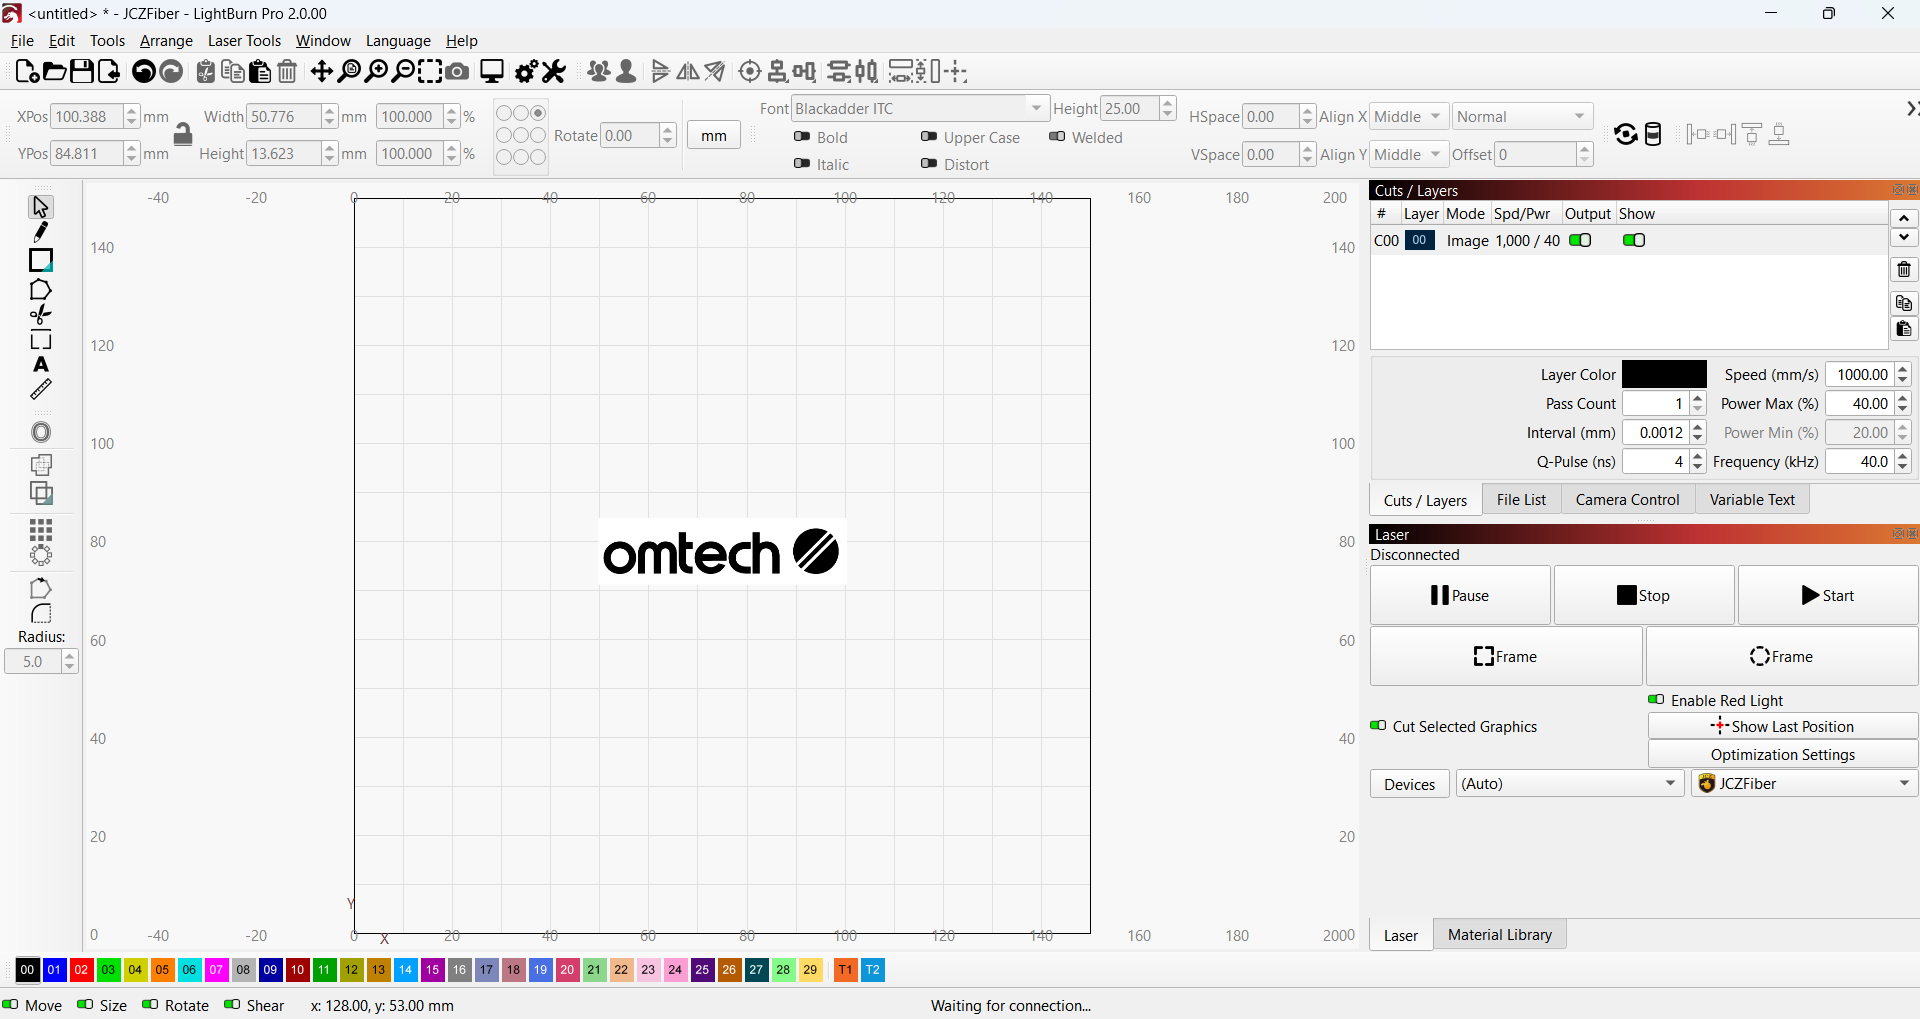
For example, when engraving an aluminum blank, we used the following settings on the OMTech MOPA 60W Auto-Focus Fiber Laser Marking Machine:
✅ Speed: 1000 mm/s
✅ Power: 40%
✅ Line Interval: 0.0012 mm
✅ Q-Pulse: 4 ns
✅ Frequency: 400 kHz
¶ B. CO2 Lasers (Coated Metals or with Marking Compound)
- Power: High (e.g., 60-100% for a 60-100W CO2 laser)
- Speed: Slow to medium (e.g., 100–300 mm/s)
- DPI/LPI: 300-600 for fine details
- Passes: Coated metals typically require 1 to 2 passes; marking compounds usually need just 1
- Frequency (Hz): High (500-1000 Hz or more) for cleaner marks
For example, when engraving coated metals, we used these settings on the OMTech Pronto 60W CO2 laser machine:
✅ Power: 18%
✅ Speed: 200 mm/s
✅ Line Interval: 0.08 mm
Crucial Step – Test Your Settings
Before committing to your final piece, run a test grid on an identical scrap metal. Vary power, speed, frequency (for fiber), and hatch spacing to identify the combination that delivers the best contrast, depth, and crispness with minimal unwanted effects.
¶ Step 5: Start Engraving
Preview your design in the software to ensure proper placement, then send the job to the laser. Never leave the machine unattended during operation, as sparks and fumes can pose serious risks.
Below are examples of aluminum engraved using the MOPA 60W Auto-Focus Fiber and Pronto 60W CO2.
|
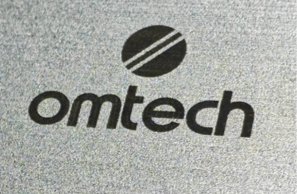
|
|
|
¶ Step 6: Post-Engraving Cleaning
- Remove Marking Compound Residue (if used): If you applied a metal marking compound, clean off any unreacted residue following the manufacturer’s instructions—this usually involves wiping with water, alcohol, or a specific cleaning solution.
- Clean Metal Dust/Residue: For direct engraving or coated metals, gently remove fine metal dust or char using a soft cloth, brush, or compressed air. Isopropyl alcohol can help remove stubborn marks.
- Polishing (Optional): To achieve a smooth, professional finish, lightly polish the engraved area or the entire piece using a fine-grit abrasive pad or a metal polish suited to your metal type.
- Apply Protective Coating (Optional): Depending on your application and desired durability, consider applying a clear coat or sealant to protect the engraving, especially on bare metals prone to oxidation over time.
By carefully following these steps and always putting safety first, you’ll be set to create beautiful, precise, and long-lasting laser-engraved metal projects!