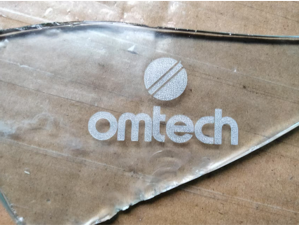
Laser engraving on glass adds a personalized touch to items such as bottles, mirrors, awards, and drinkware. Unlike cutting which standard CO2 lasers generally cannot do without cracking the glass, engraving produces a frosted, etched effect. The process creates micro-fractures and tiny chips on the surface, resulting in an attractive opaque finish.
¶ Step 1: Prepare Your Glass
Proper preparation is essential for achieving a crisp, even etch.
- Choose the Right Glass:
- Common Soda-lime Glass: This includes most everyday glass, such as windows, bottles, mirrors, and drinking glasses. It engraves well, usually producing a whiter, more opaque etch.
- Borosilicate Glass (Pyrex/Lab Glass): More heat-resistant and sometimes harder to engrave. The etch may appear lighter or require higher laser power.
- Crystal/Lead Crystal: Often produces a finer etch that can be less opaque.
- Clean the Glass Thoroughly: Any grease, fingerprints, or dust can interfere with the engraving. Use glass cleaner or rubbing alcohol with a lint-free cloth to ensure a spotless surface.
- Mask the Glass (Crucial for Best Results): This step is key for clean, high-quality engraving.
- Wet Paper: Apply a thin layer of wet paper (such as a single sheet of newspaper, paper towel, or tissue) over the engraving area. Smooth out all air bubbles. The moisture helps dissipate heat, reducing chipping and producing a smoother, whiter etch.
- Alternative Options: A very thin layer of liquid dish soap (applied with a brush and allowed to almost dry) or standard masking tape can also work. Wet paper generally delivers the best results for a bright, clean etch.
¶ Step 2: Prepare Your Design
Use graphic design software such as Adobe Illustrator, CorelDRAW, or LightBurn to create your design.
- Raster Images: Most glass engraving designs are raster images—these include filled shapes, text, or photos. The laser scans these areas to produce the etch.
- Black & White or Grayscale: Convert your image to pure black and white for solid frosted areas, or use grayscale for varying levels of opacity. Keep in mind that true grayscale is harder to achieve on glass than on wood.
If you're looking for design inspiration, check out our project ideas.
¶ Step 3: Machine Setup and Focusing
Accurate setup is essential to ensure your laser hits the sweet spot for clean, precise engraving.
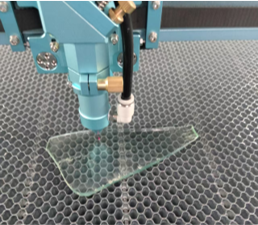
- Place Your Material: Lay your glass flat and secure it on the laser bed. For very thin glass, ensure there’s no air gap underneath, as this can cause vibrations.
- Focus the Laser: Proper focus is crucial for crisp engravings.
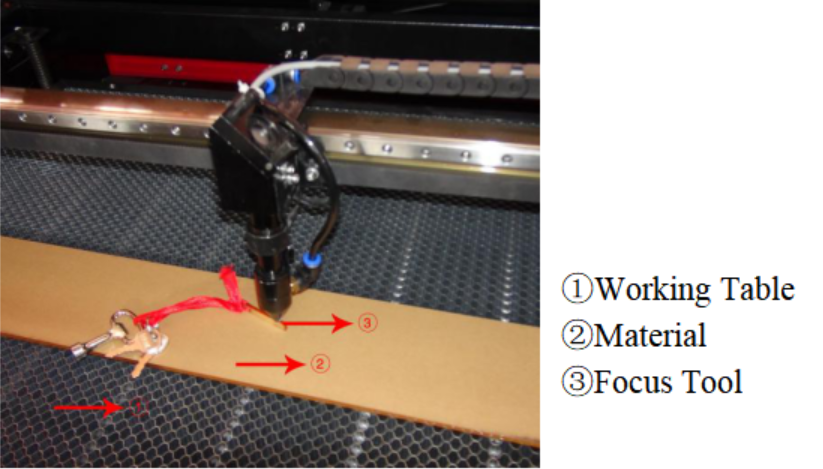
- Manual Focus: Use your laser’s focus tool to set the exact distance from the laser head to the glass surface.
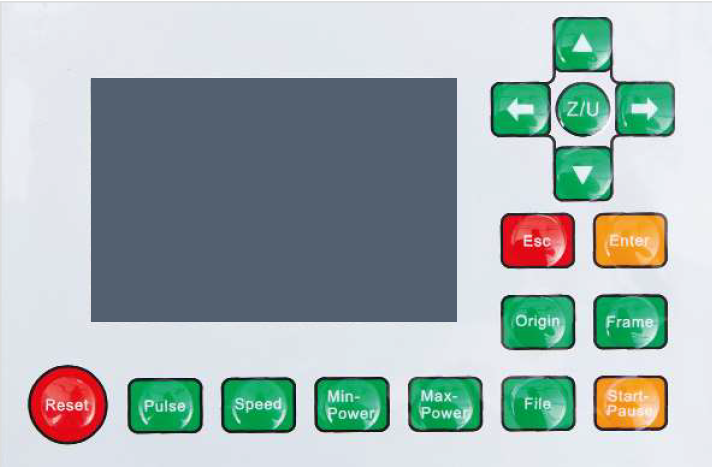
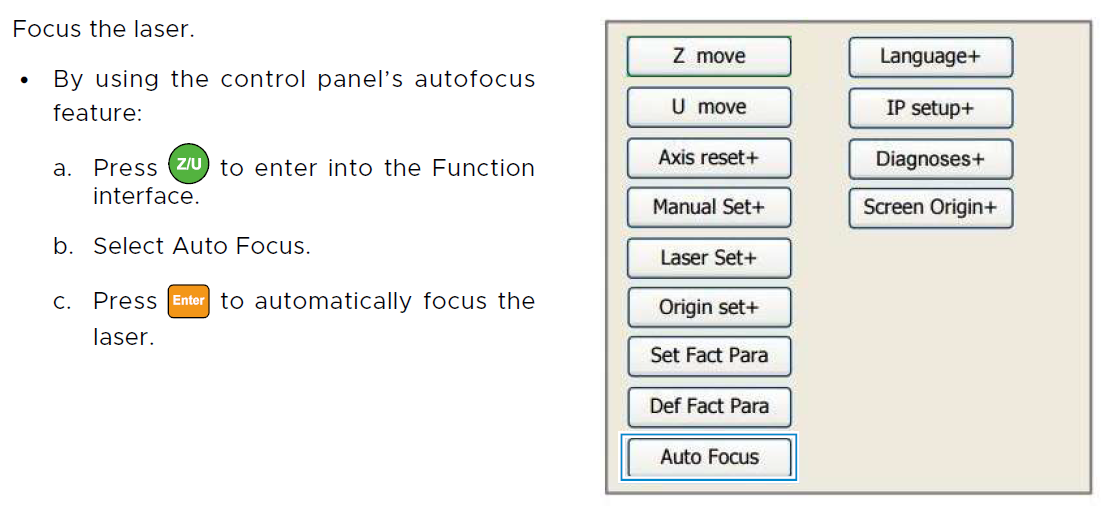
- Autofocus: If your machine has an autofocus feature, activate it through the control panel or software. Follow the on-screen instructions or the guide below. DO NOT activate autofocus unless the material is already placed on the workbed.
- Important: Some users prefer to raise the Z-axis by 0.1-0.2 mm after focusing. This slightly spreads the laser beam, producing a smoother, more even etch with reduced micro-fracturing or chipping.
|
|
|
- Ventilation: Turn on your fume extraction system. Glass doesn't produce smoke like wood or acrylic, but fine glass dust is generated. Proper ventilation keeps dust off your optics and workspace.
- Air Assist (Low Setting): Use air assist at a lower setting than you would for cutting other materials. Too much airflow can blow away tiny glass chips before the laser properly etches them, resulting in a less opaque or uneven finish. Experiment with reduced airflow. If your machine doesn’t allow software adjustments, you can gently restrict the air tube to lower the output.
The machine shown in the figures above is the OMTech Pronto 60W CO₂ laser machine.
¶ Step 4: Laser Engraving Settings
Finding the right settings is all about testing and fine-tuning for your specific machine and type of glass.
¶ Software Settings (Raster Mode)
- Power: Start with moderate power (e.g., 20-50% for a 60-100W CO2 laser). Too little power won’t etch, while too much can cause excessive chipping or even crack the glass.
- Speed: Use a relatively high speed (e.g., 200-400 mm/s). Faster speeds often produce a whiter, crisper etch by minimizing heat buildup. Slower speeds can increase chipping and reduce finish quality.
- DPI/LPI (Resolution): Determines the detail and density of the etch
- Lower (200-300): Ideal for simple text or logos where fine detail isn’t critical.
- Higher (400-600): Provides finer detail for intricate designs, but takes longer and increases the risk of chipping if power and speed aren’t optimized.
- Dithering vs. Grayscale: Glass typically works best with dithering (dot patterns that simulate shades) or pure black-and-white designs. True grayscale is difficult on glass, as variations are more about micro-chipping than smooth burning.
- Scan Angle: Engraving at 90° (scanning vertically if your design is horizontal) can sometimes yield cleaner results, especially on cylindrical items with a rotary attachment. Test both 0° and 90° to see which works best.
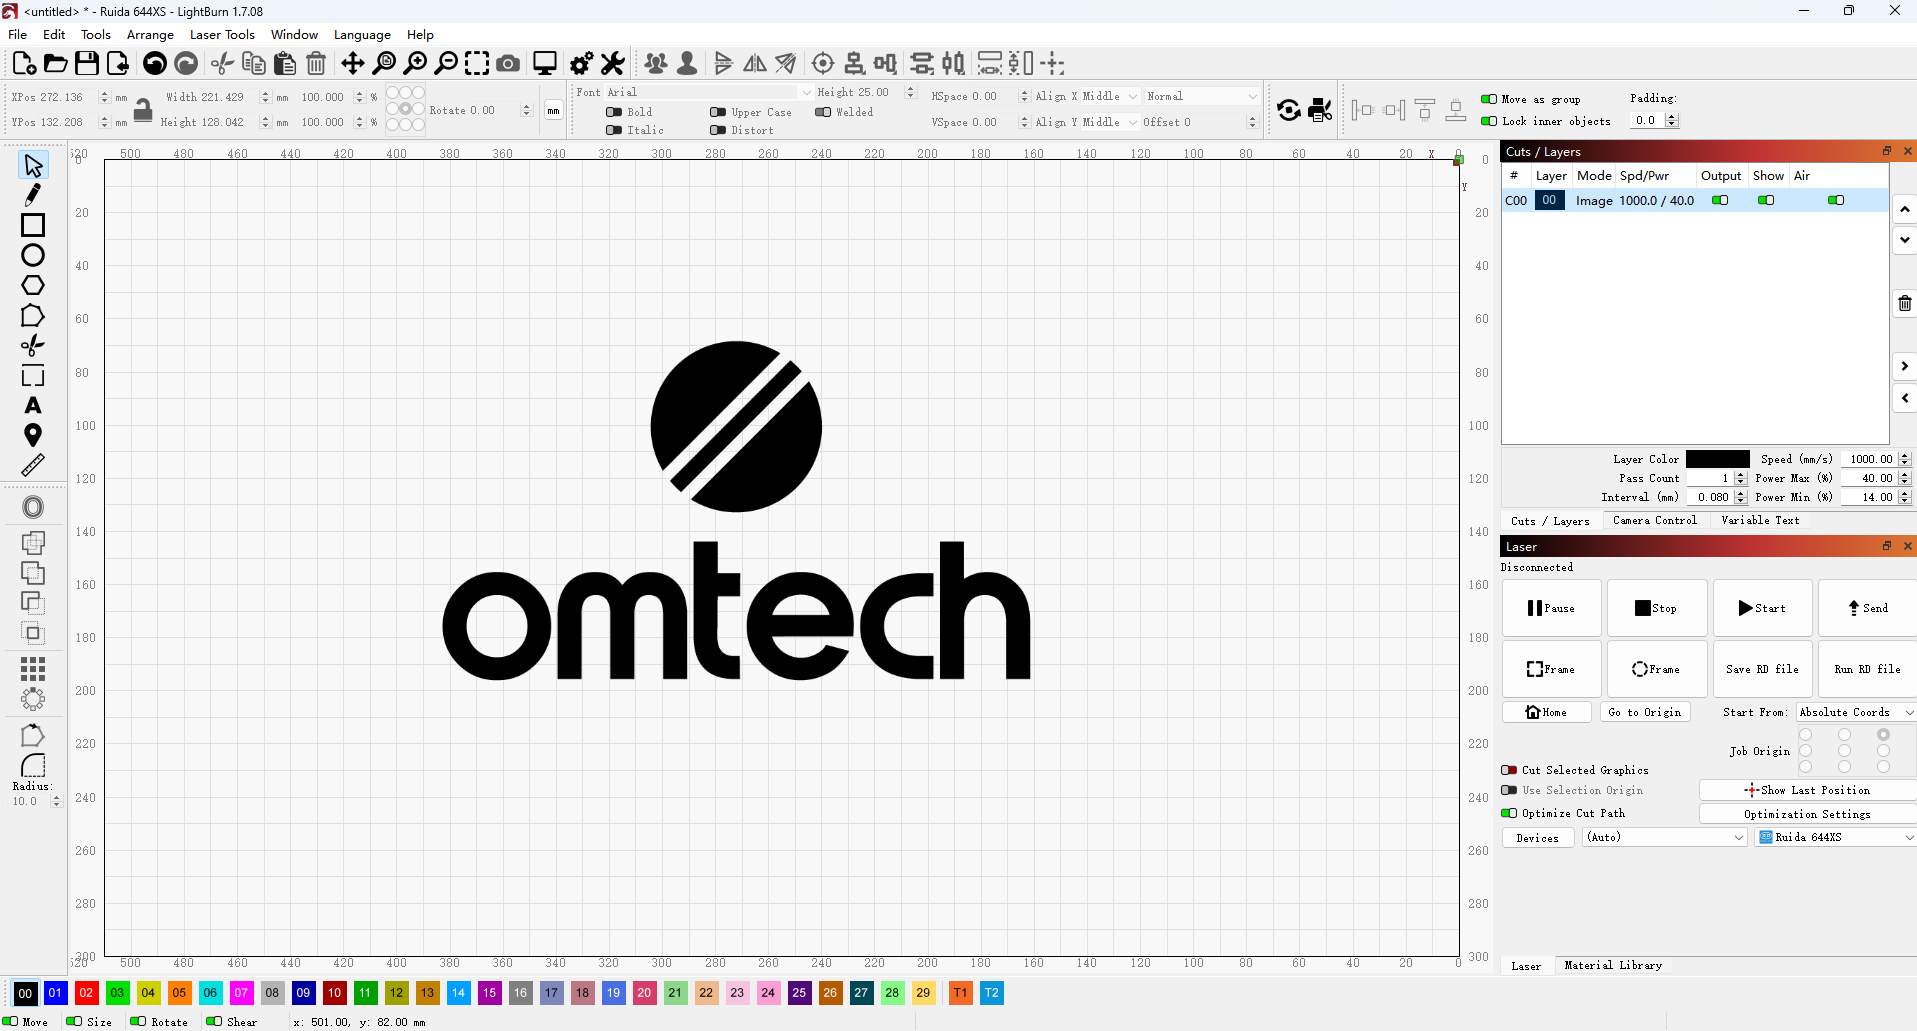
Our Recommended Settings for Glass Engraving
✅ Power: 18%
✅ Speed: 200 mm/s
✅ Interval: 0.08 mm
¶ Step 5: Test Engraving
Always run a test before engraving your final piece. Use a small, inconspicuous area or a scrap piece of the exact same glass. Create a test grid that varies power, speed, and DPI settings. This will help you pinpoint the best combination for achieving your desired frosted effect while minimizing chipping.
¶ Step 6: Start Engraving
Preview your design in the software, then send the job to the machine. Stay by the machine for the entire engraving process to monitor progress and ensure safety.
|
|
¶ Step 7: Post-Engraving Cleaning
- Remove the Masking: If you used wet paper or masking tape, carefully peel it away. You may notice fine glass dust clinging to it.
- Clean Off Glass Dust: Gently wipe or rinse the engraved area with a soft brush, damp cloth, or dish soap and water. For intricate details, a soft-bristled toothbrush works well.
- Avoid Over-Cleaning: Don’t scrub aggressively, especially right after engraving, since the etched surface is more fragile at this stage.
By following these steps and thoroughly testing your settings, you can consistently create crisp, beautifully detailed laser-engraved glass pieces.