Laser engraving and cutting cardboard offers a fantastic way to craft intricate designs, prototypes, and art pieces. As a versatile and affordable material, cardboard is ideal for laser processing. Here’s a detailed guide to help you achieve excellent results.
¶ Step 1: Choose the Right Cardboard
Thickness & Type: Cardboard comes in various forms—single-ply, corrugated, chipboard, and paperboard. Thinner, denser cardstock tends to cut and engrave more cleanly. Corrugated cardboard, with its fluted internal layers, has two distinct surfaces, which can affect engraving consistency.
Color: Light-colored cardboard generally provides better contrast for engraving.
Adhesives/Coatings: Watch out for special coatings or adhesives, as they may react unpredictably to the laser—causing uneven results, excessive smoke, or even releasing toxic fumes. For example, PVC coatings are unsafe for laser use. Whenever possible, choose uncoated cardboard or those with paper-based adhesives.
¶ Step 2: Prepare Your Design
1. Software: Use graphic design tools like Adobe Illustrator, CorelDRAW, Inkscape, or your laser’s native software (LightBurn, RDWorks) to create or import your design.
2. Vectors for Cutting: Ensure all lines meant for cutting are vector paths—thin, precise lines assigned to a specific color or layer.
3. Vectors for Cutting: Designs intended for engraving should be raster images, such as photos or solid-filled shapes.
4. Optimization: Clean up your file by removing duplicate lines, simplifying complex paths, and ensuring images have sufficient resolution for crisp engraving.
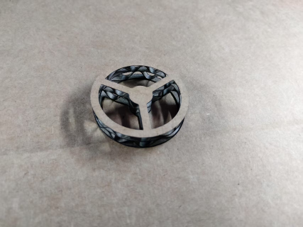
If you need inspiration, feel free to explore our project ideas.
¶ Step 3: Prepare the Cardboard Surface (Optional but Recommended)
For a cleaner finish, apply low-tack masking tape—such as painter’s tape or transfer tape—to both sides of the cardboard. This protective layer helps absorb smoke residue and prevents charring, keeping your cardboard looking pristine. After engraving or cutting, carefully peel off the tape to reveal a clean surface.
¶ Step 4: Set Up Your Laser Machine
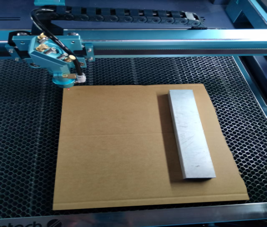
1. Place the Material: Lay your cardboard flat on the laser bed. Secure it with honeycomb pins, clamps, or magnets to prevent warping during the process.
2. Focus the Laser (this step is crucial):
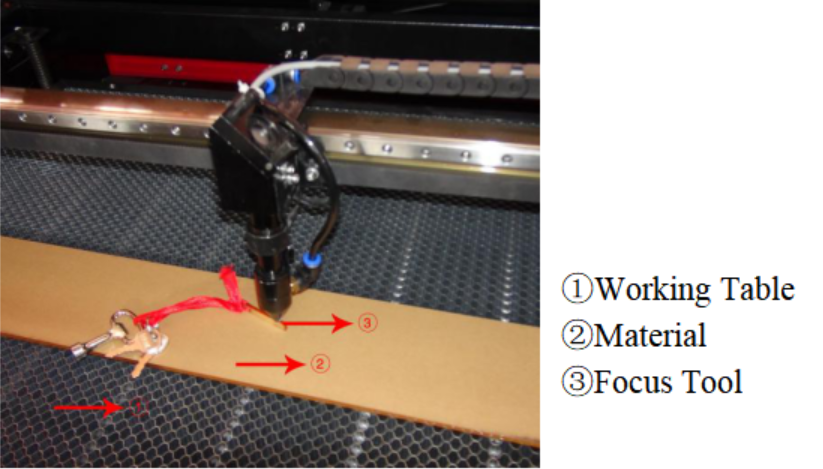
- Manual Focus: Use your laser’s focus gauge to set the exact distance between the laser head and the cardboard surface.
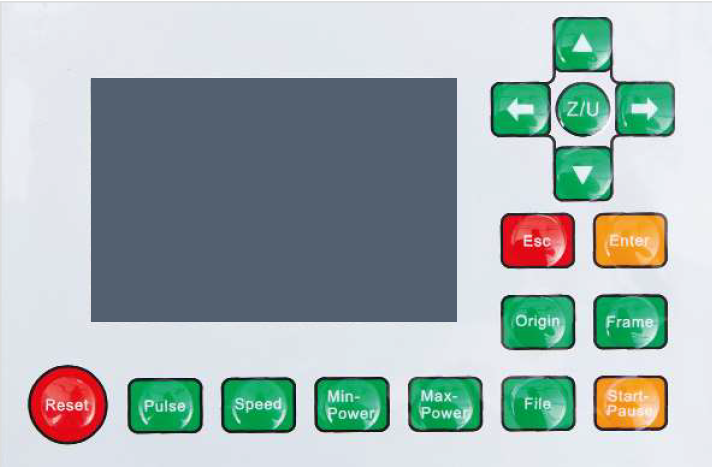
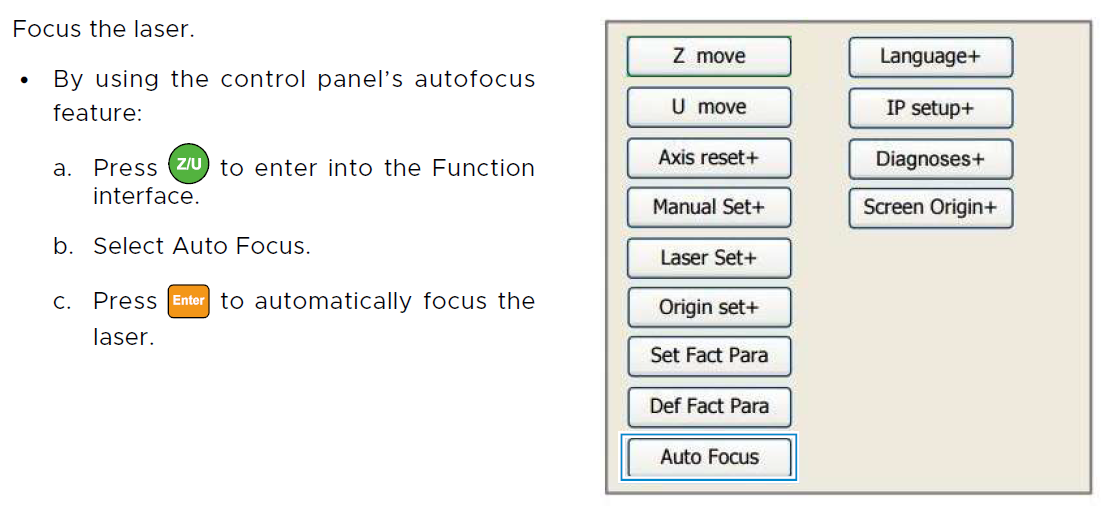
- Autofocus: If your machine has an autofocus feature, activate it through the control panel or software. Follow the on-screen instructions or the guide below. DO NOT activate autofocus unless the material is already placed on the workbed.
- Why Focus Matters: Incorrect focus widens the laser beam, causing less precise cuts (wider kerf) and blurry, less detailed engravings.
|
|
|
3. Ventilation: Ensure your fume extraction system is working properly and vented outdoors. Laser processing wood produces smoke and potentially harmful fumes. Good ventilation also helps reduce charring and flare-ups.
4. Air Assist: Turn on your air assist, which blows a steady stream of air at the laser’s focal point to.
- Cutting: Helps clear debris, cool the cutting area, and prevent charring or flare-ups.
- Engraving: Removes smoke that could settle back on the cardboard and cause discoloration.
The machine shown in the figures above is the OMTech Pronto 60W CO2 laser machine.
¶ Step 5: Software Settings
¶ For Cutting (Vector Mode)
- Power: Start with a relatively low power setting—cardboard cuts easily. Too much power can cause excessive charring, wider cuts, and increase fire risk.
- Speed: Use medium to high speeds. Thinner cardboard cuts quickly, while slower speeds increase dwelling time, leading to more charring.
- Passes: For thicker or corrugated cardboard, consider multiple passes at lower power rather than one high-power pass. This approach usually produces cleaner cuts with less charring and reduces combustion risk.
- Cut Order Optimization: When cutting multiple shapes, optimize the cut sequence in your software to minimize laser head travel. Always cut inner shapes or holes before outer shapes to prevent pieces from shifting or dropping prematurely.
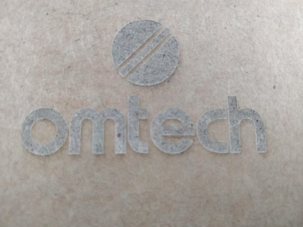
Our Recommended Settings for Cardboard Cutting
✅ Power: 17%
✅ Speed: 400 mm/s
✅ Interval: 0.08 mm
¶ For Engraving (Raster Mode)
Power: Use very low power—cardboard burns easily. Excessive power can burn through the material, create heavy charring, or make the engraved areas too deep and brittle.
Speed: Use high speed for lighter engravings; slower speeds produce darker, deeper marks.
DPI/LPI (Determines resolution)
○ Lower (150-250): Creates a textured, rustic, or “dot matrix” look, ideal for simple text or logos.
○ Higher (300-600): Produces finer detail and smoother tonal transitions for images, but takes longer.
Image Mode/Grayscale Mode vs. Dithering:
○ Grayscale Mode: If supported, allows smooth tonal variations using dynamic power modulation.
○ Dithering: Converts images into dot patterns to simulate grayscale. Experiment with algorithms (e.g., Floyd-Steinberg, Atkinson) to see what looks best.
Scan Angle: Typically 0° or 90°, but experimenting with angles can create interesting visual effects, especially on corrugated cardboard.
Our Recommended Settings for Cardboard Engraving
✅ Power: 50%
✅ Speed: 25 mm/s
¶ Step 6. Test Settings
1. Small Cut Test
- Always perform a test cut on a scrap piece of the same cardboard you plan to use, such as a 1-inch square. Adjust power, speed, and passes until you achieve a clean cut with minimal charring.
2. Engraving Test
- Power/Speed Test: Run small test engravings on scrap cardboard, experimenting with different power and speed settings to find the ideal balance for your desired darkness and depth.
- DPI/Dithering Test: When engraving images, test various DPI settings and dithering algorithms to determine which combination delivers the best detail and tonal range.
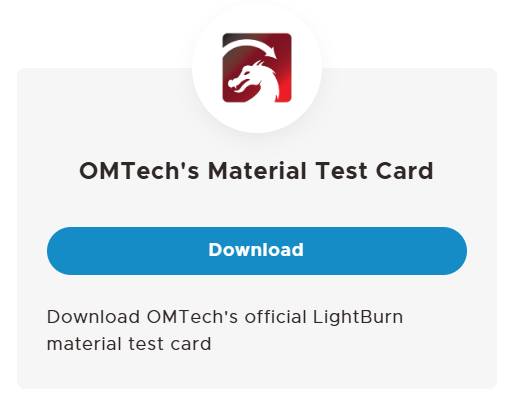
You can download the test card here.
¶ Step 7: Start the Project
1. Preview: Use your software’s preview function to check the laser path before starting.
2. Send to Machine: Send the job to your laser machine.
3. Monitor: Never leave the machine unattended while cutting cardboard, as it's highly flammable. Keep a fire extinguisher or a spray bottle of water nearby, and watch for excessive flames throughout the process.
|
|
|
¶ Step 8: Post Processing
After finishing, carefully remove the cut or engraved pieces. If you applied masking tape, peel it off slowly to reveal clean edges. Any remaining smoke or debris can be gently removed using a soft brush or a lightly damp cloth—dab rather than rub to avoid damaging the cardboard.
By following these guidelines and carefully testing your settings, you can consistently achieve clean, precise, and professional results when laser engraving and cutting cardboard.