The Material Library serves as a centralized repository for laser presets, storing essential settings such as power, speed, pass count, pulse frequency, and dithering patterns. Users can save configurations customized for specific materials (e.g., “3mm Acrylic - Cut”, or “Anodized Aluminum - Engrave”), making it easy to apply the right settings with just one click on future projects.
This article will guide you through the entire process, from downloading a design template to effectively using the Material Library features within LightBurn.
🕐 Great time saver! By replacing manual setup with preset recall, the Material Library can reduce job preparation time by up to 70%. For instance, switching from wood engraving to acrylic cutting takes seconds instead of minutes.
¶ Download a Design Template
1. Open Project ideas (https://ideas.omtechlaser.com/) and log in to your account.
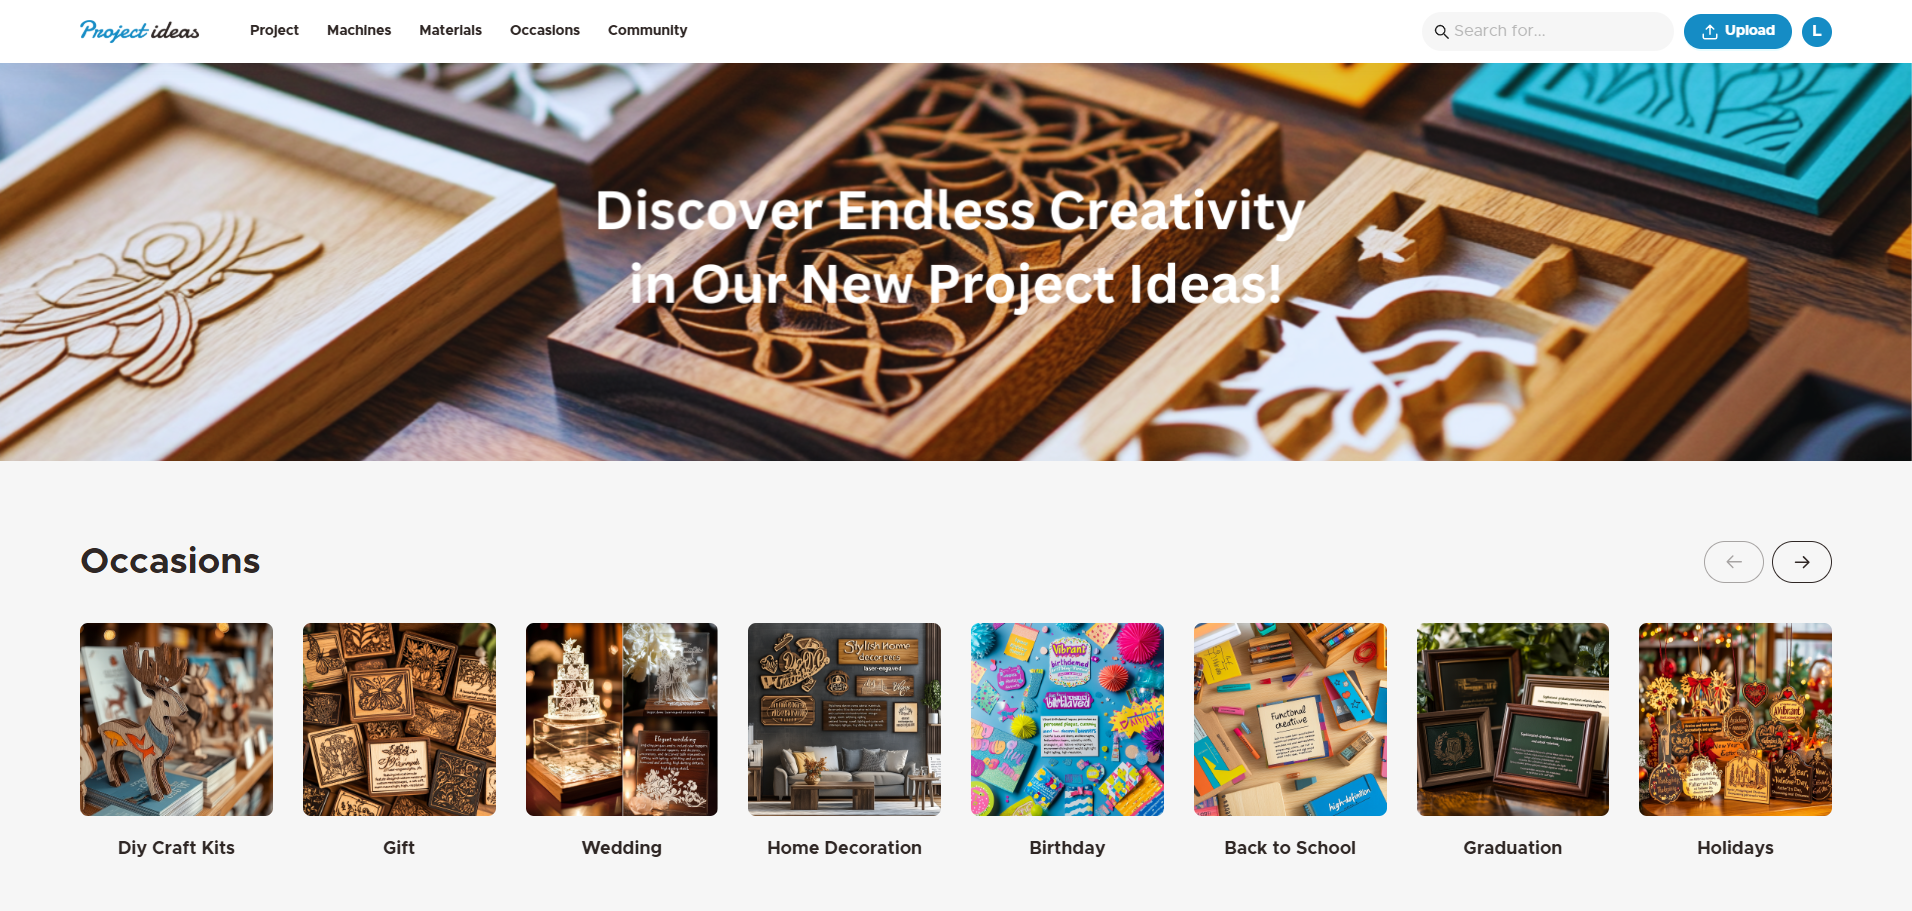
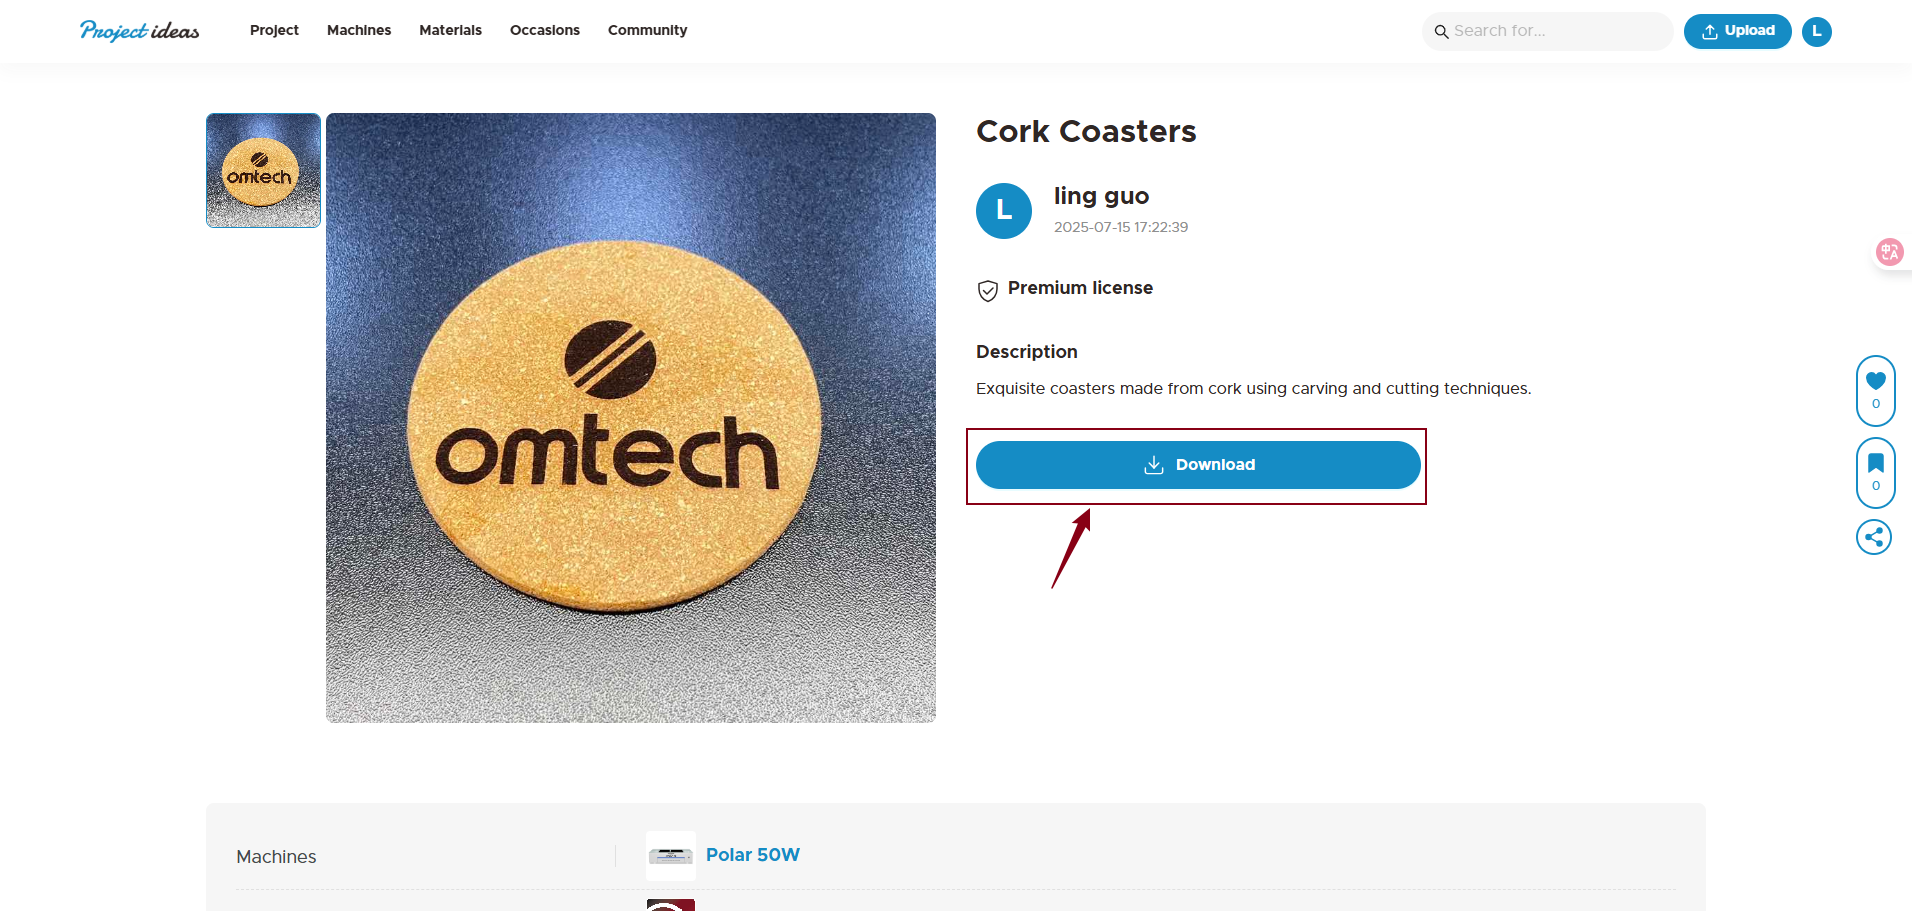
2. Browse to a design you like, open its details page, then click the Download button to save the file to your computer.
¶ Import the Design to LightBurn
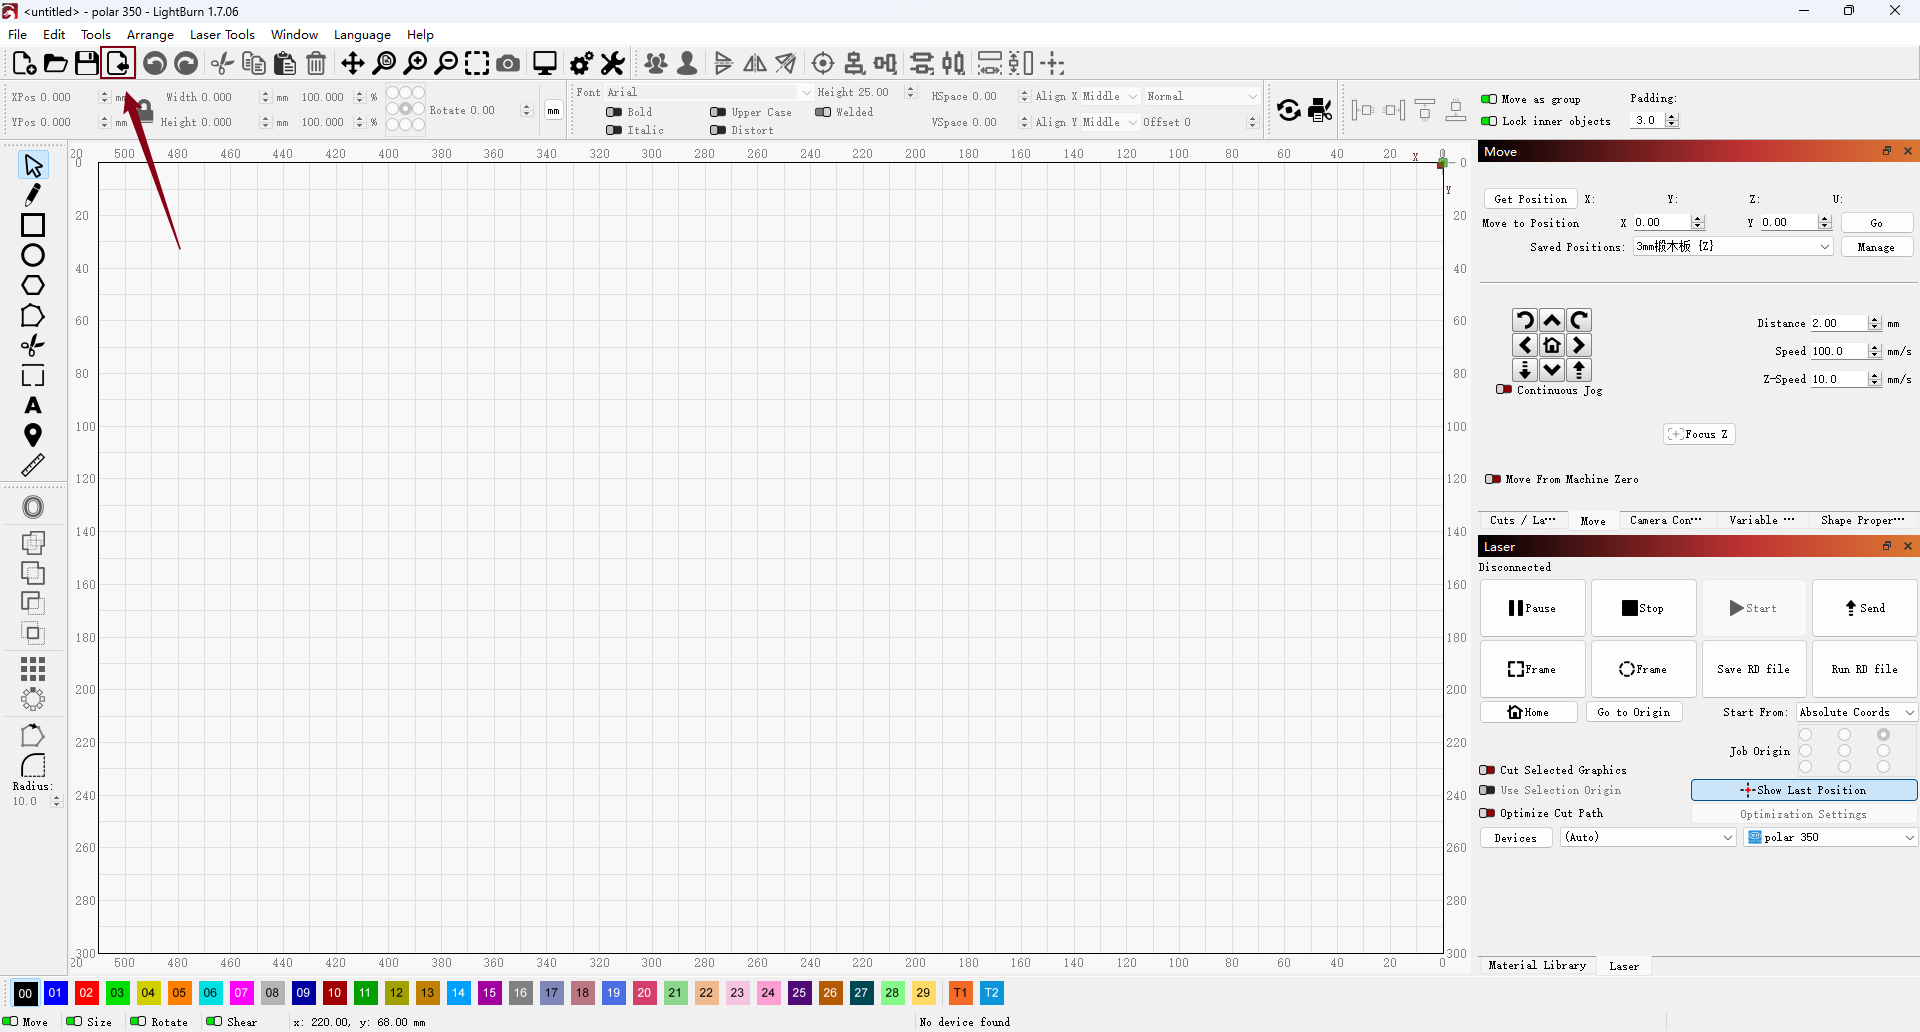
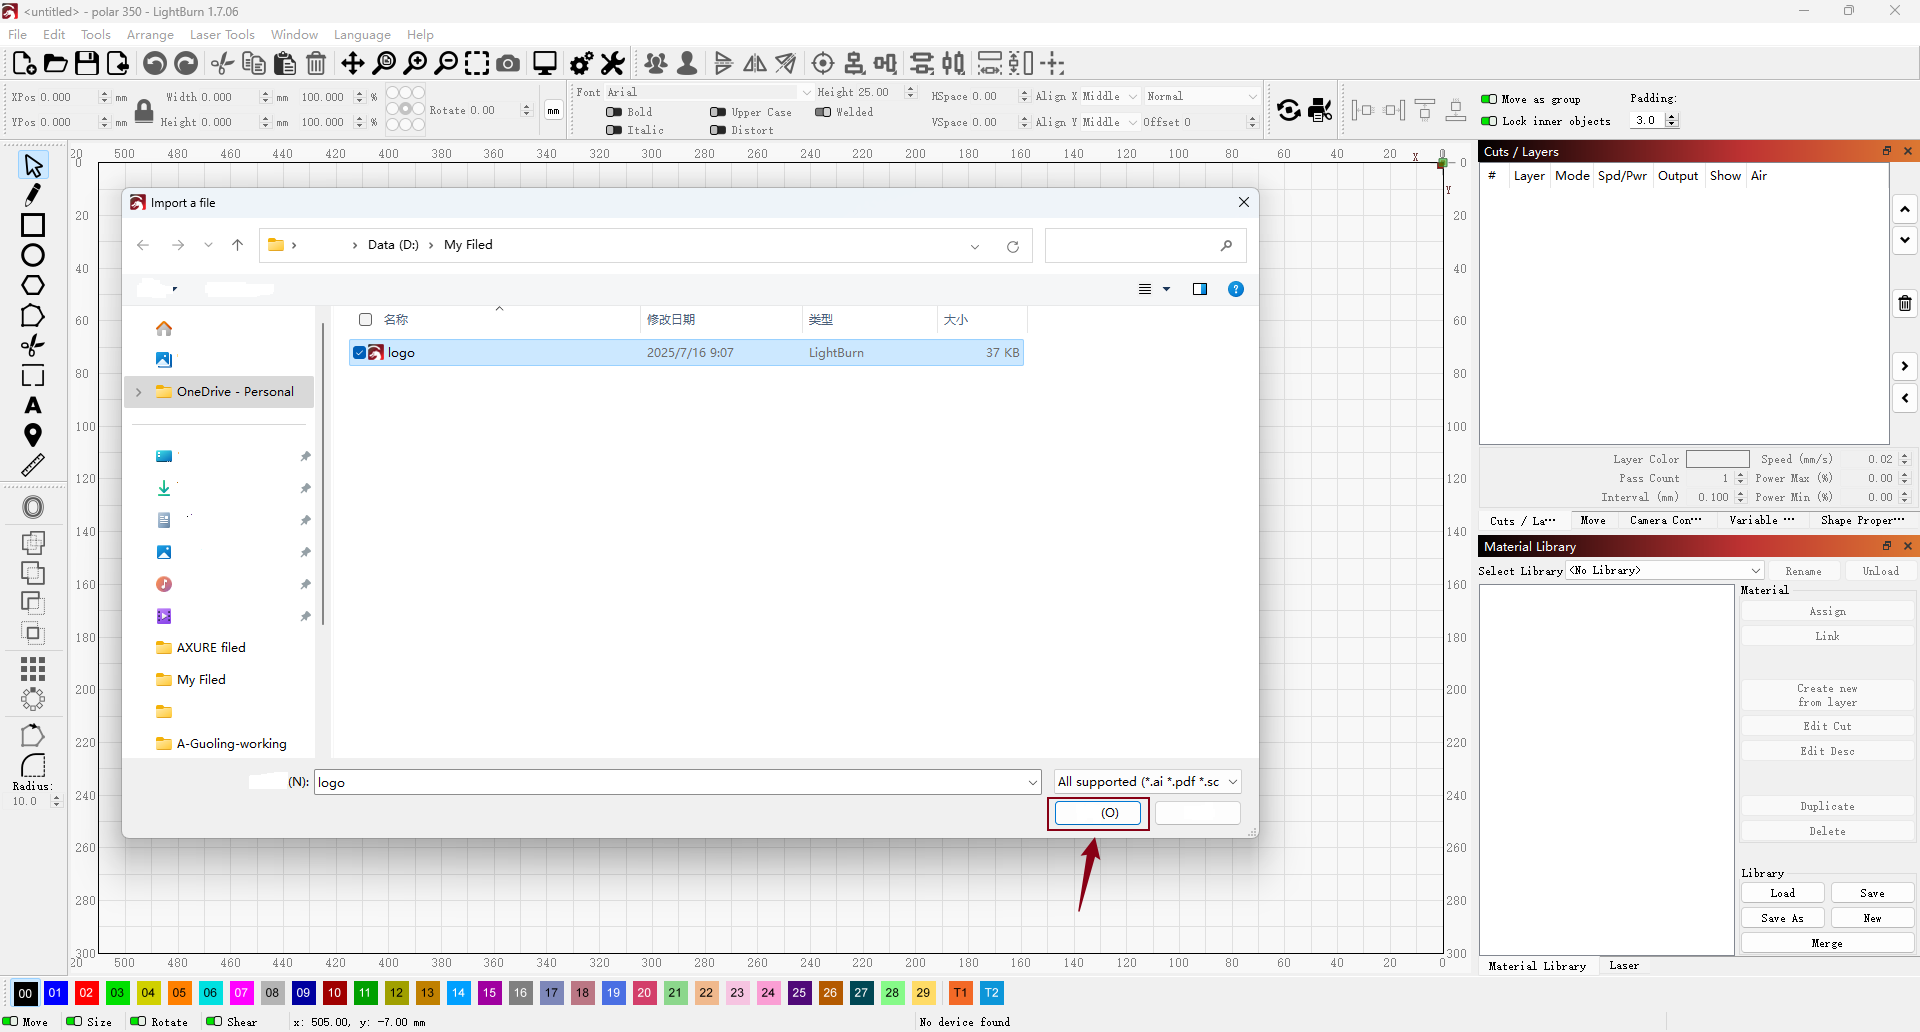
1. Open Lightburn and click the Import File button—or simply press Ctrl + I—to load your downloaded design.
2. Select your downloaded file, then click Open to import it into LightBurn.
3. By default, LightBurn’s window layout includes the Material Library as a tab located in the bottom-right corner, next to the laser control window.
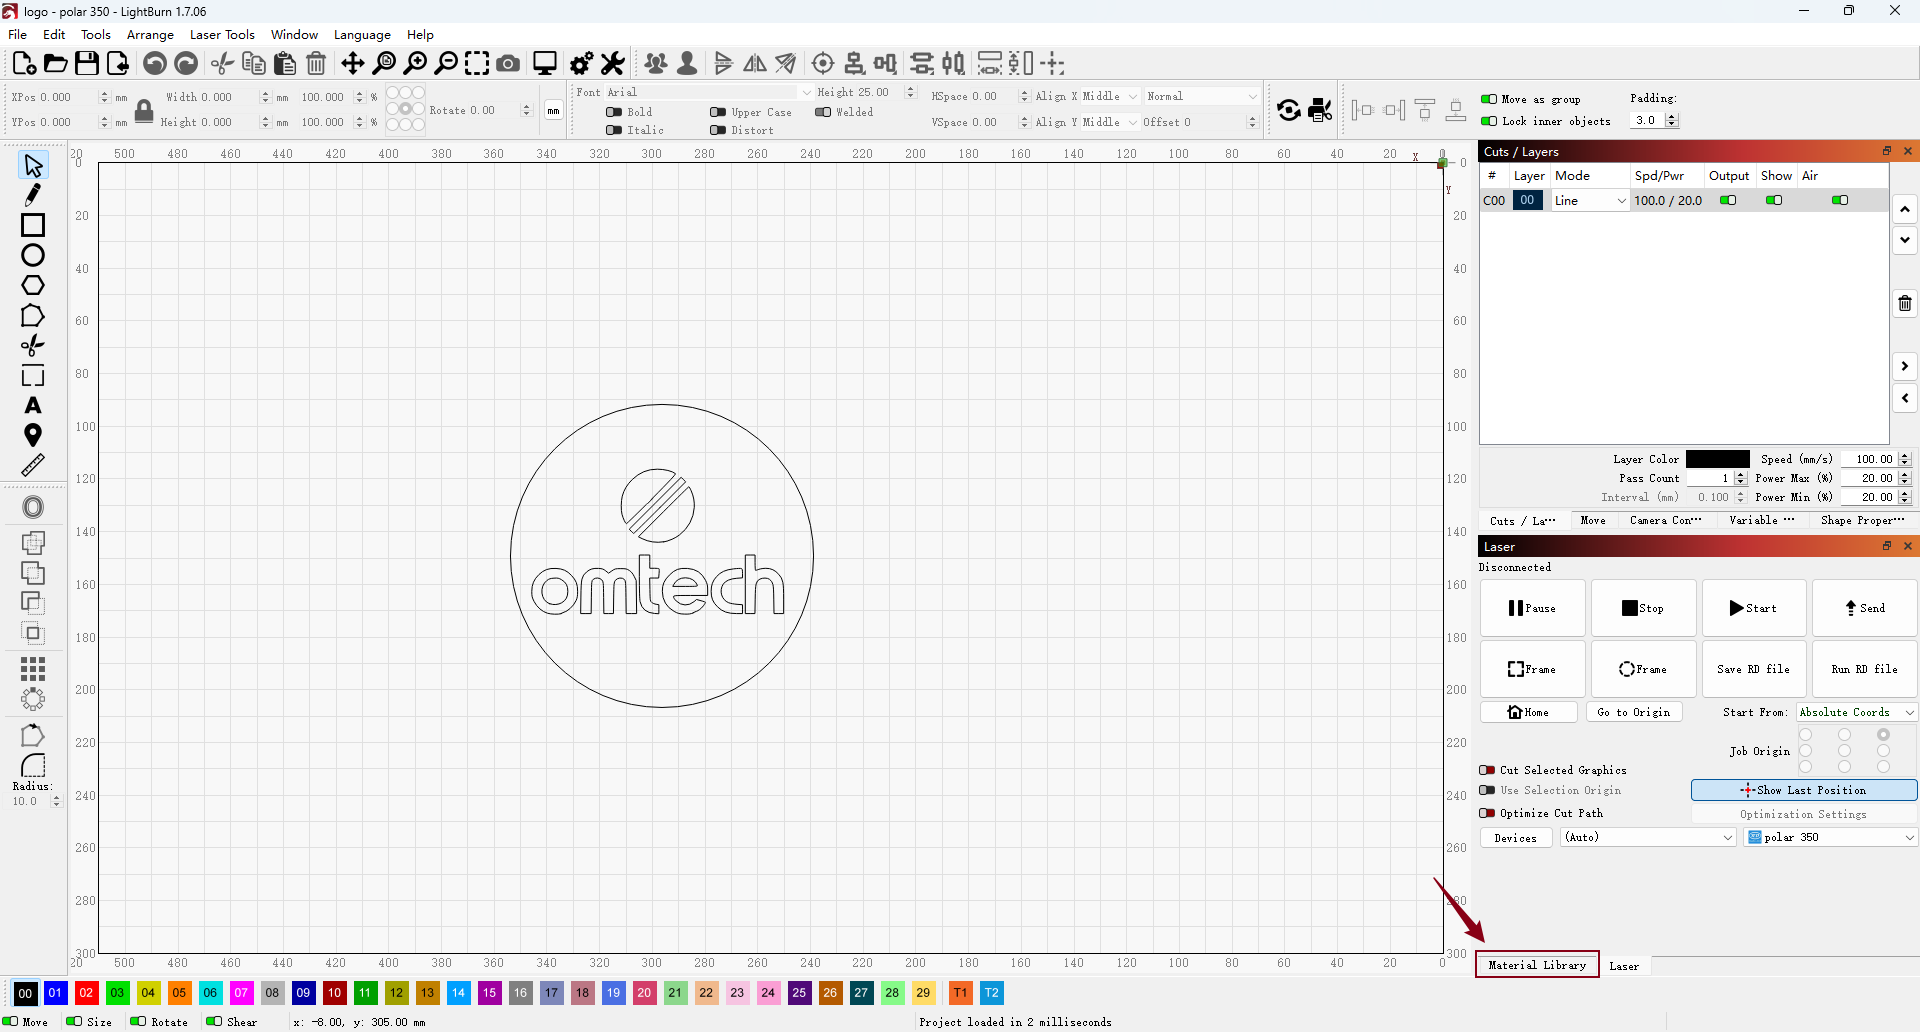
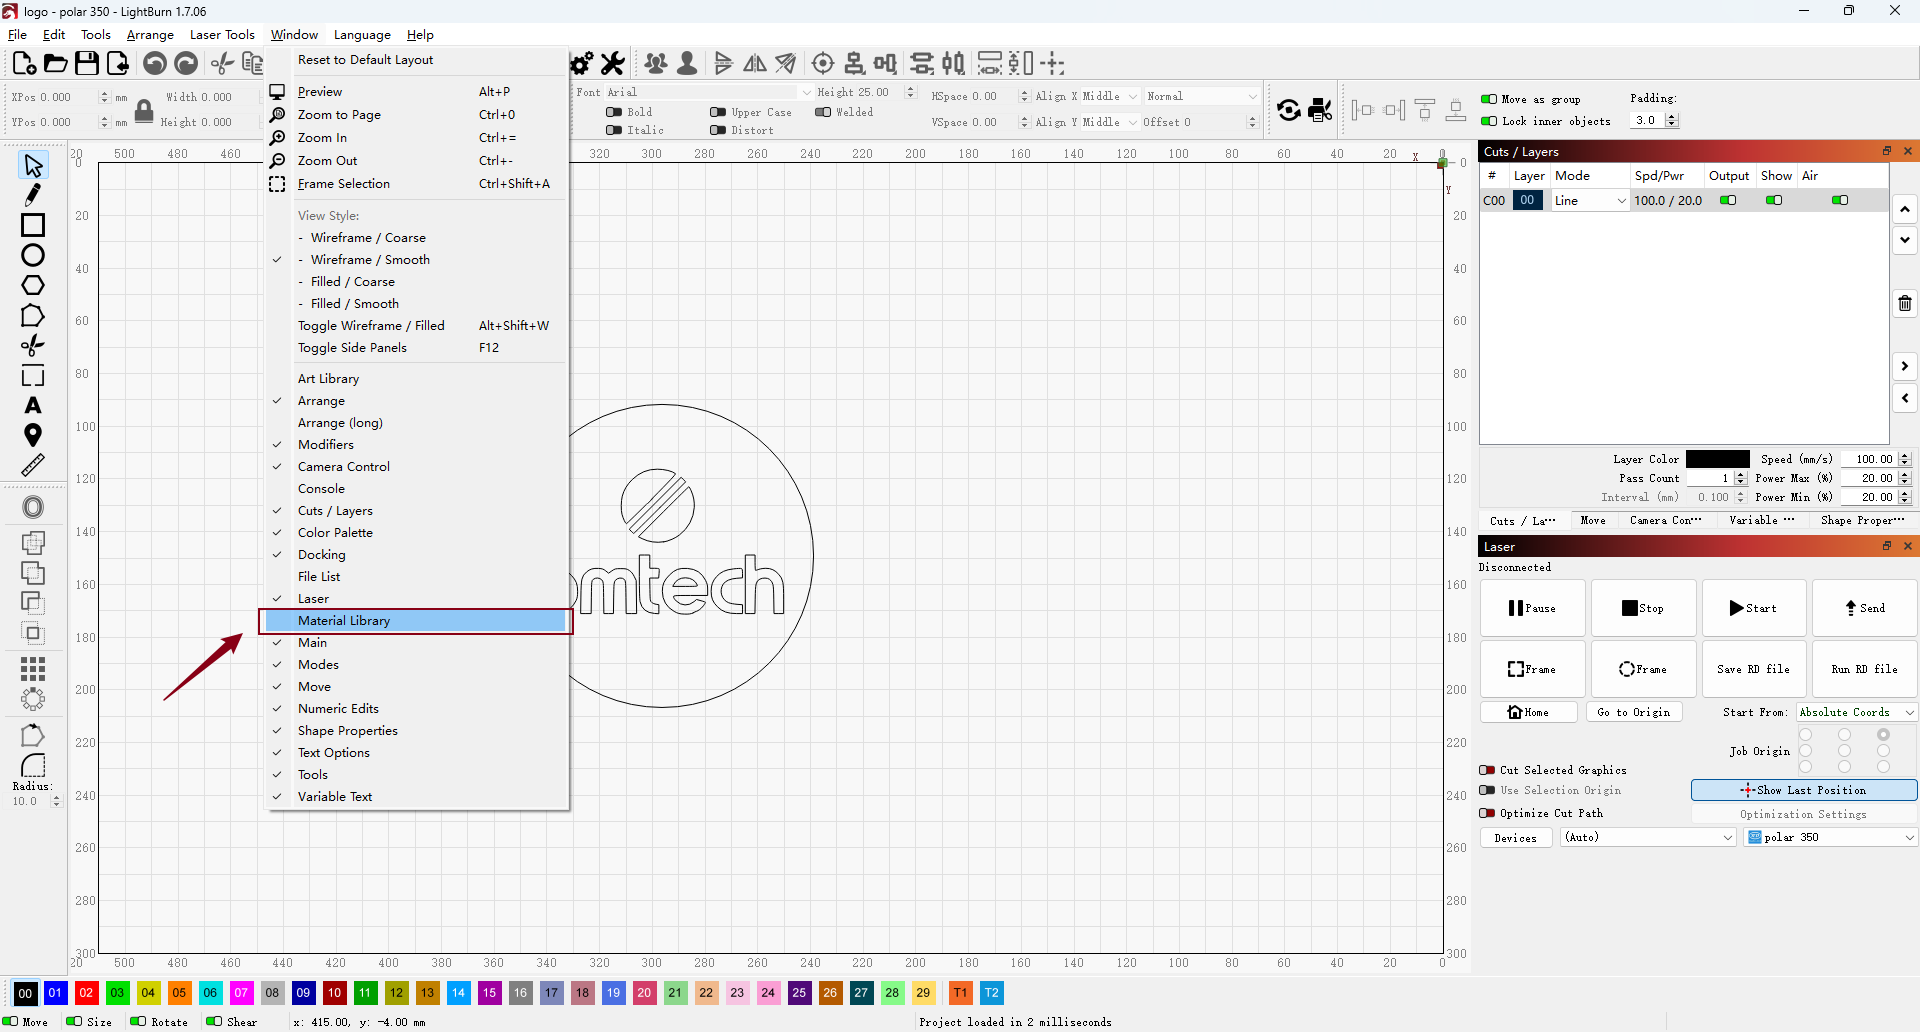
4. If the Material Library tab isn’t visible, go to the top toolbar, select Window, and click Material Library to enable it.
¶ Create a Material Library
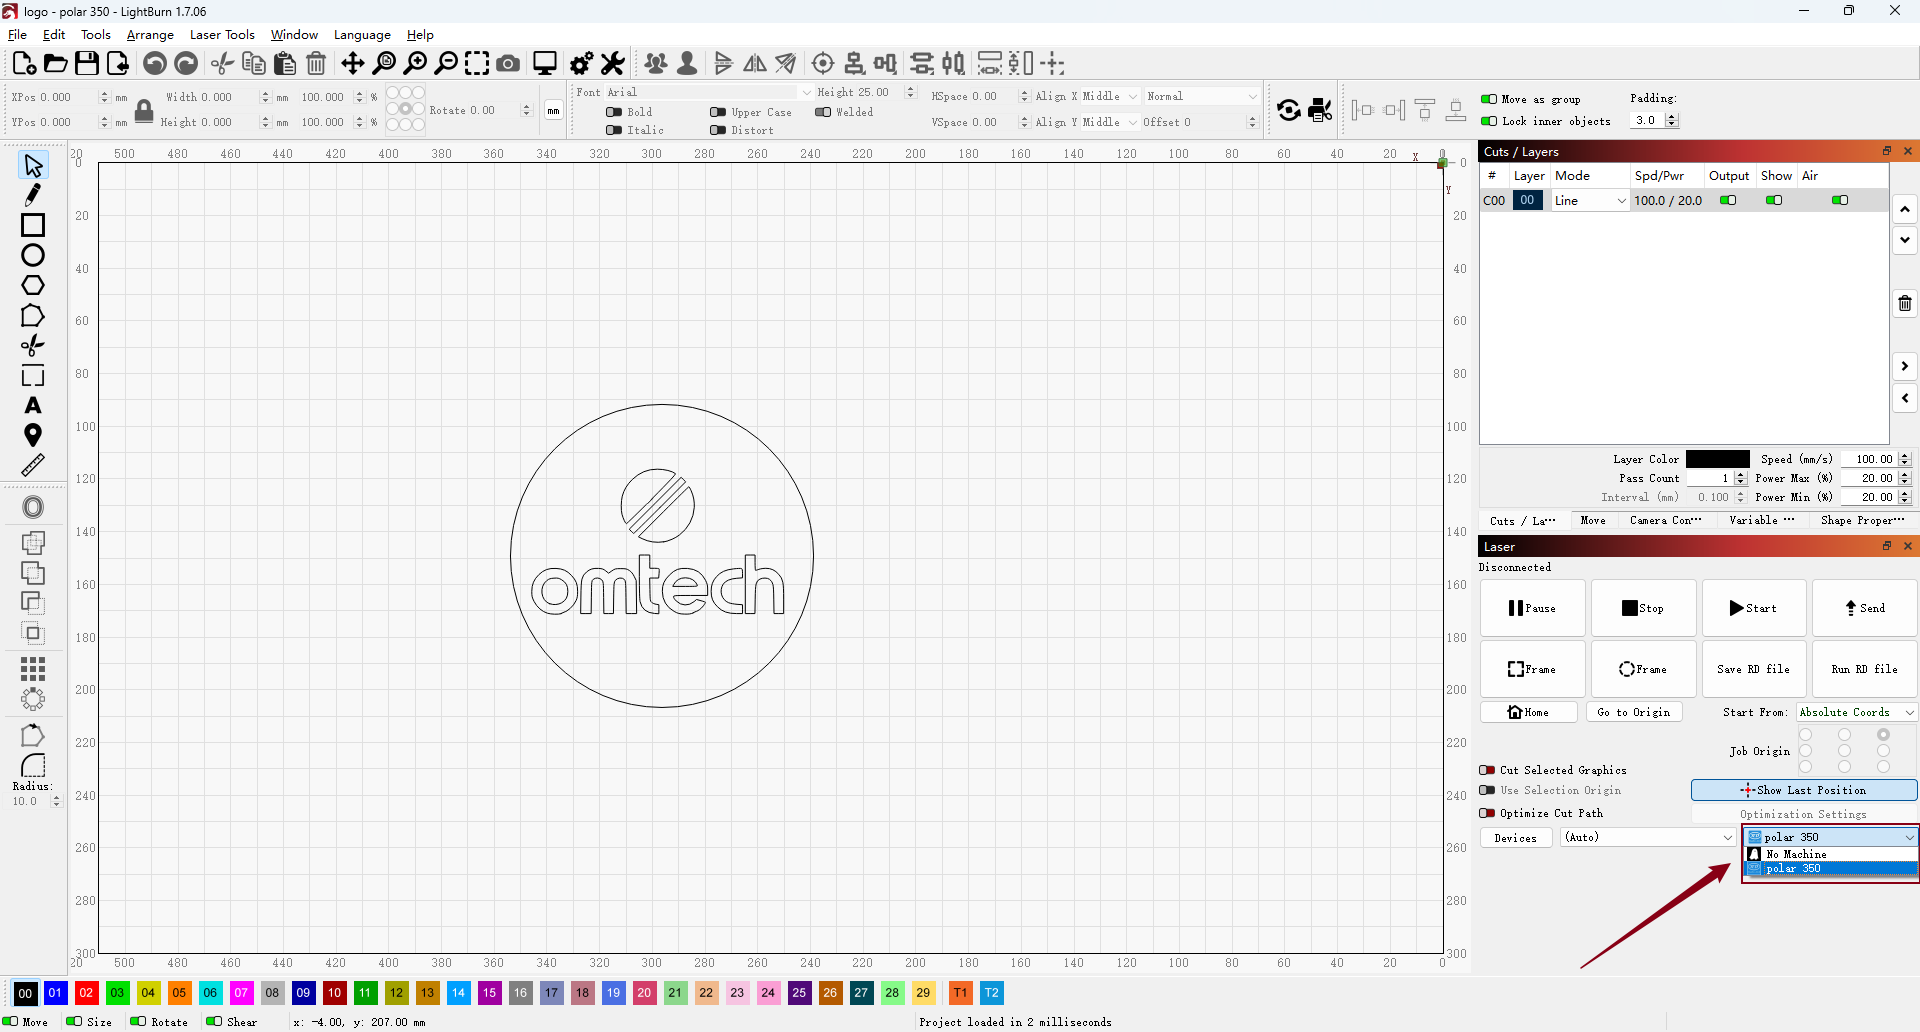
1. When you create a new material library, it will be linked to the currently selected device. Ensure you choose the correct device from the device dropdown menu before proceeding.
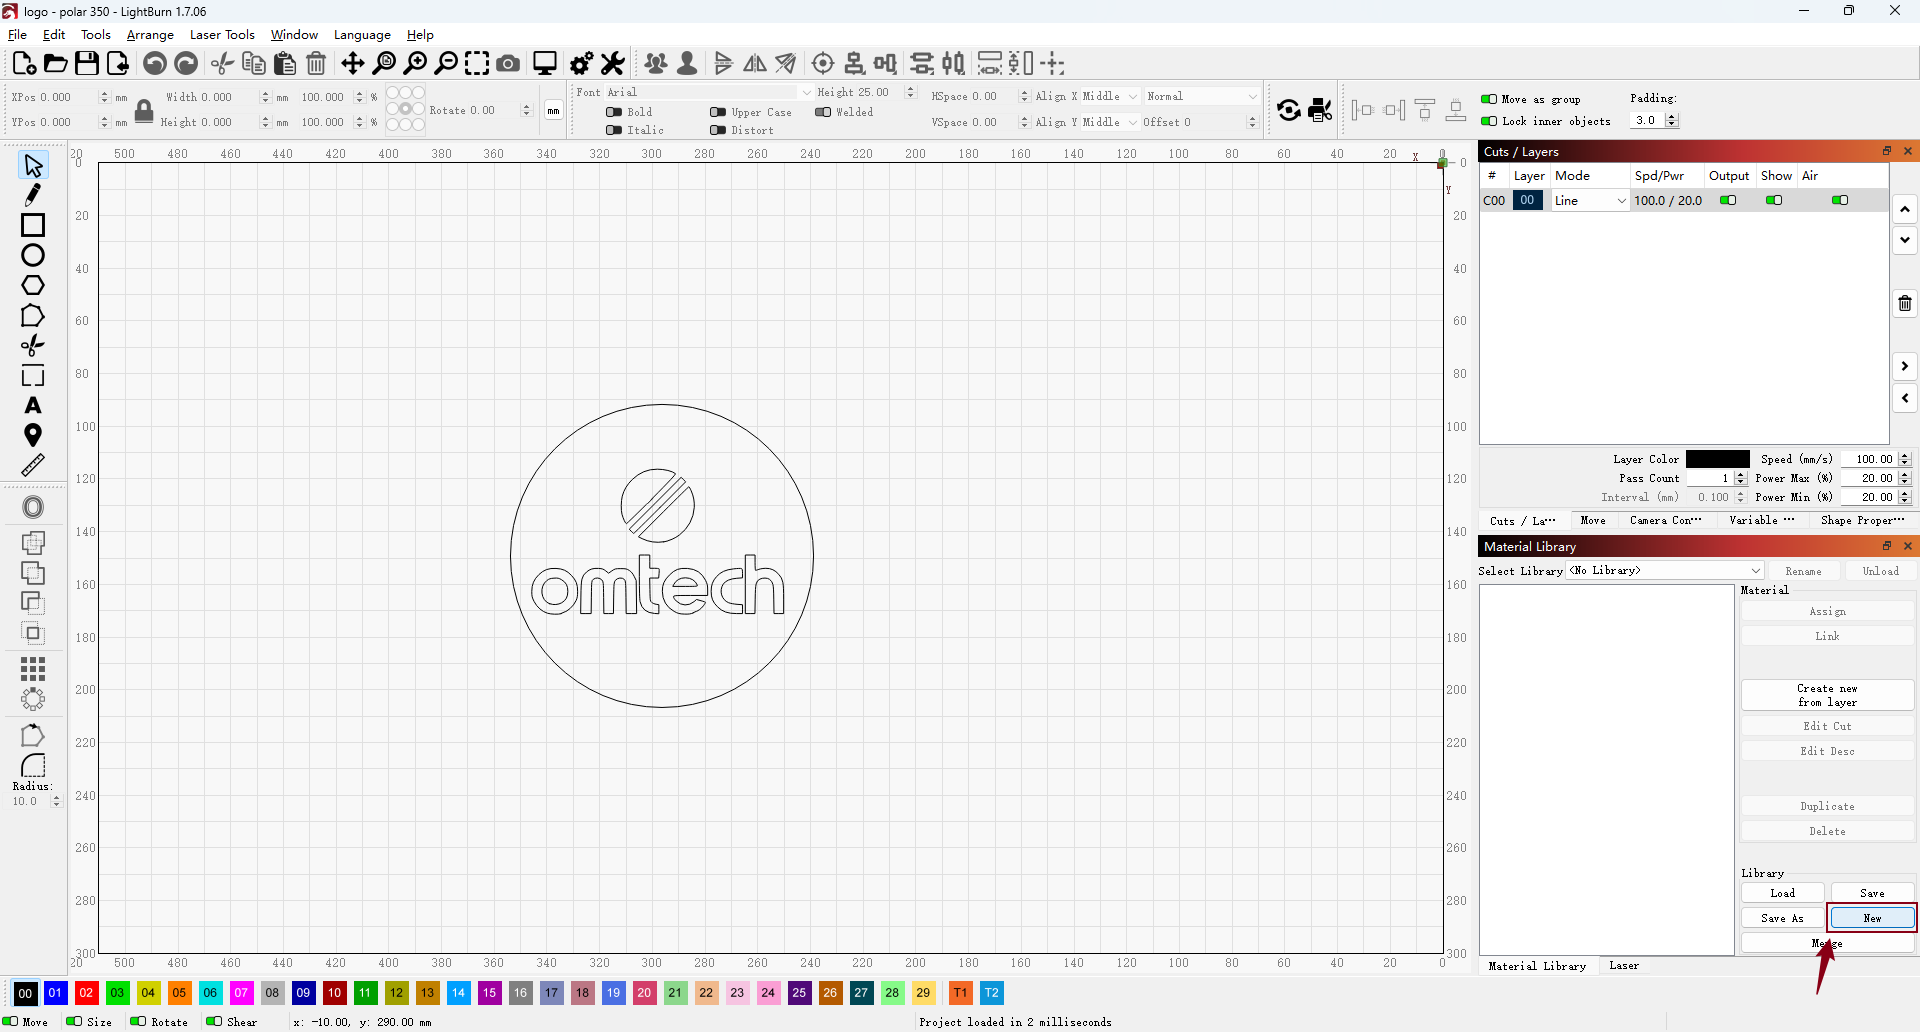
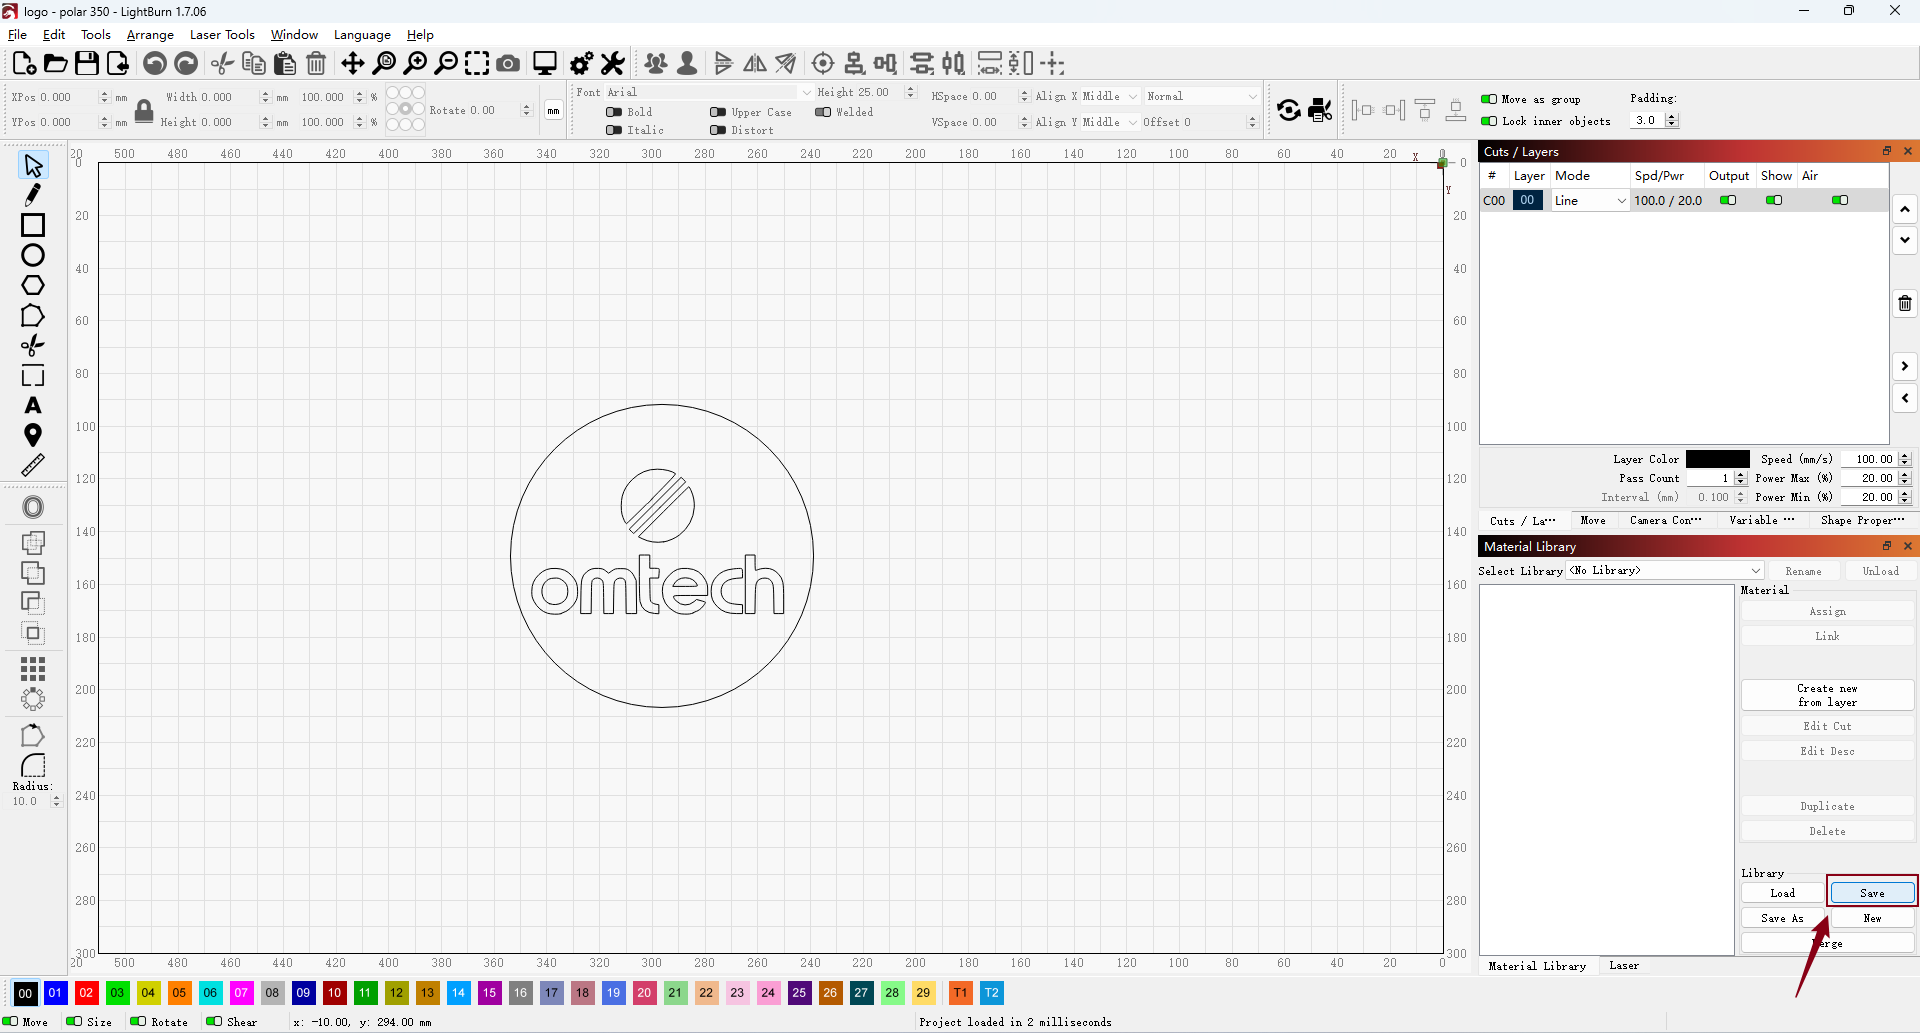
2. In the Material Library tab, click New to create a new library.
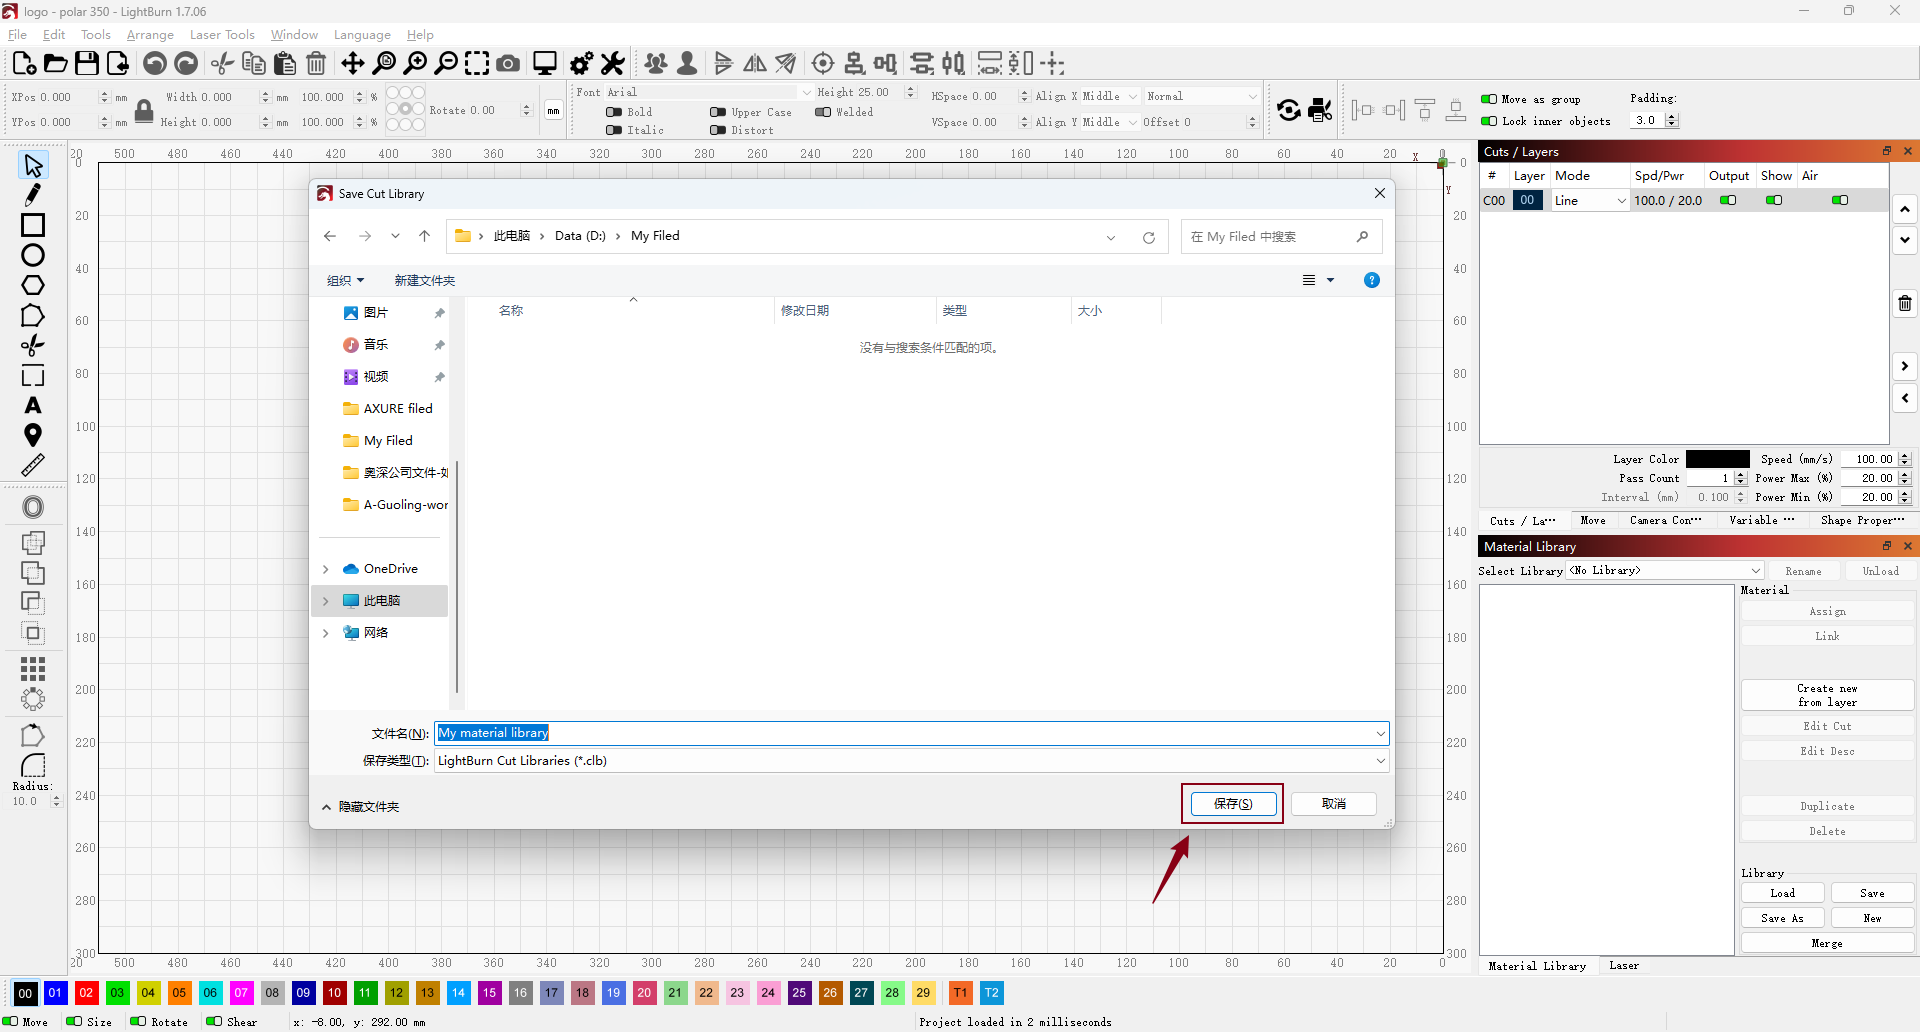
3. A File Explorer window will appear—enter a name for your new library and choose where to save it.
4. Naming the library after your laser is a wise choice—it makes it easier to identify later. If you have multiple lasers, you can save each library to your preferred location, including a network drive or cloud storage.
You can create nested folders (e.g., Wood > Plywood > 3mm) to organize your materials more precisely—ideal for studios managing 50 or more different materials.
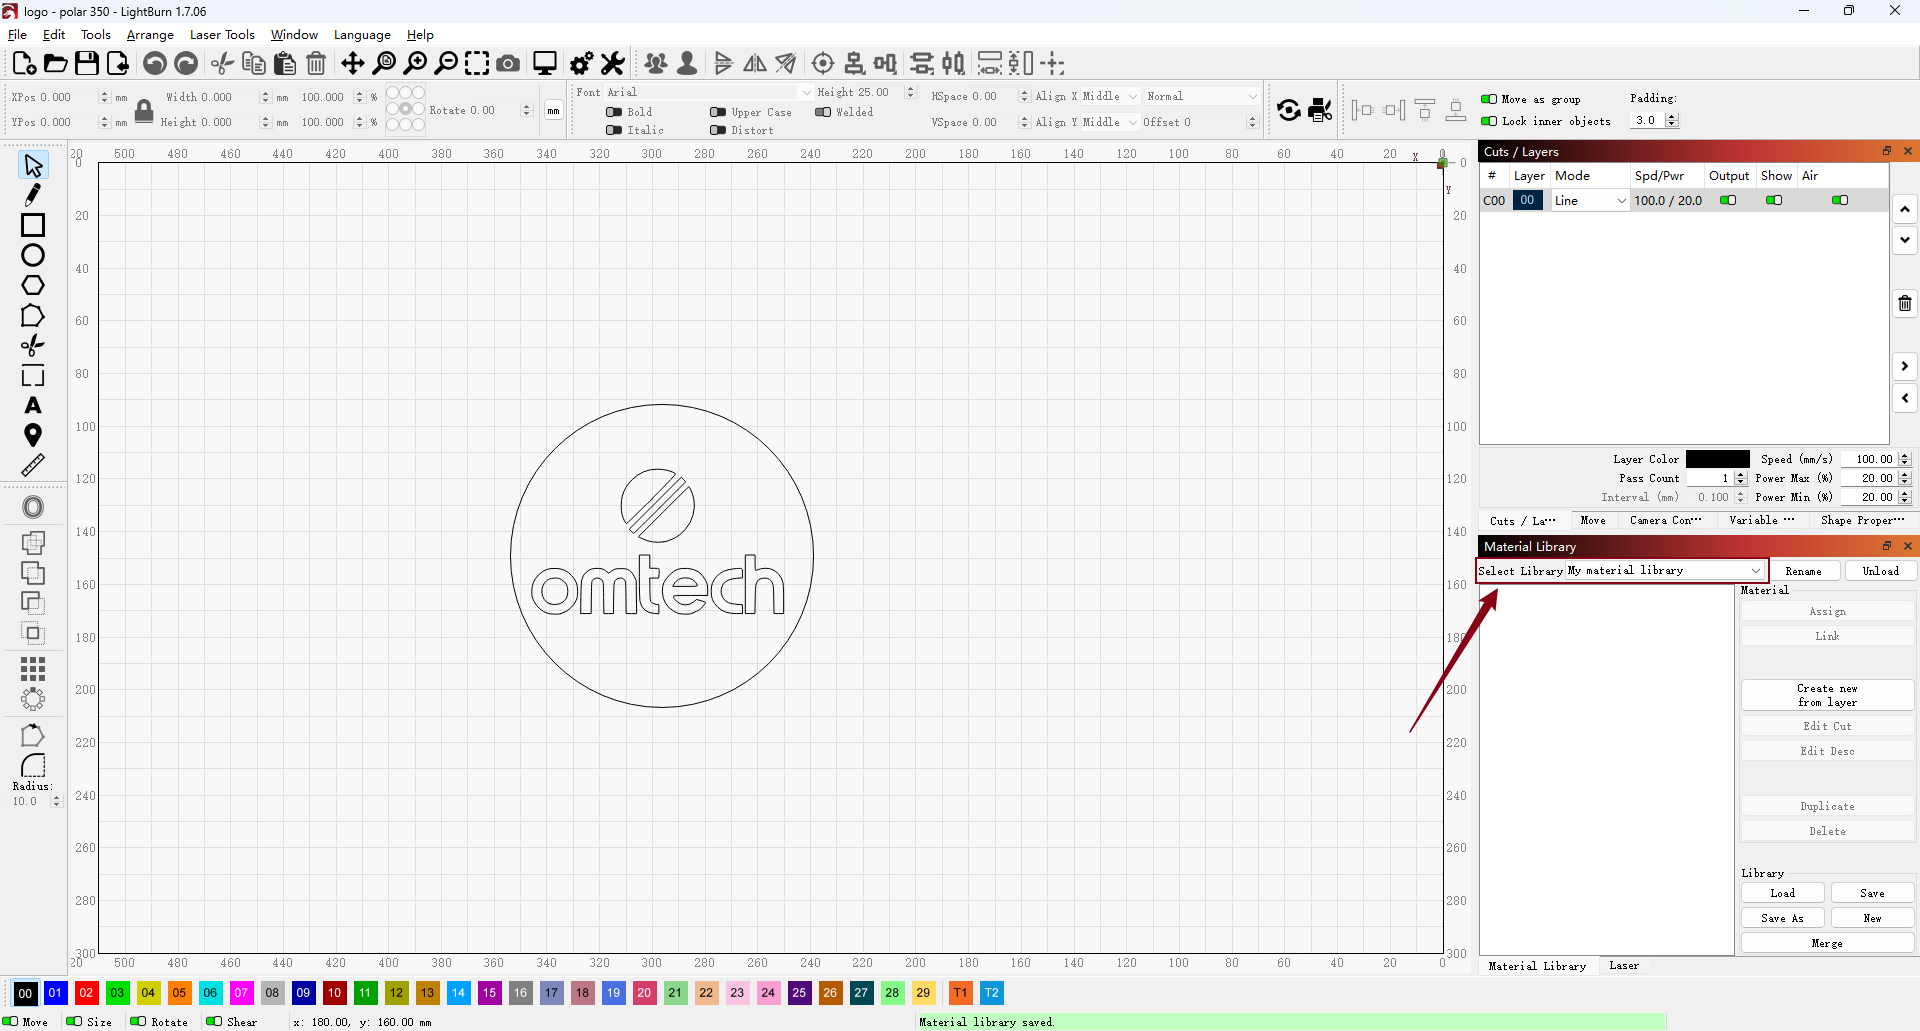
5. Select the newly created material library.
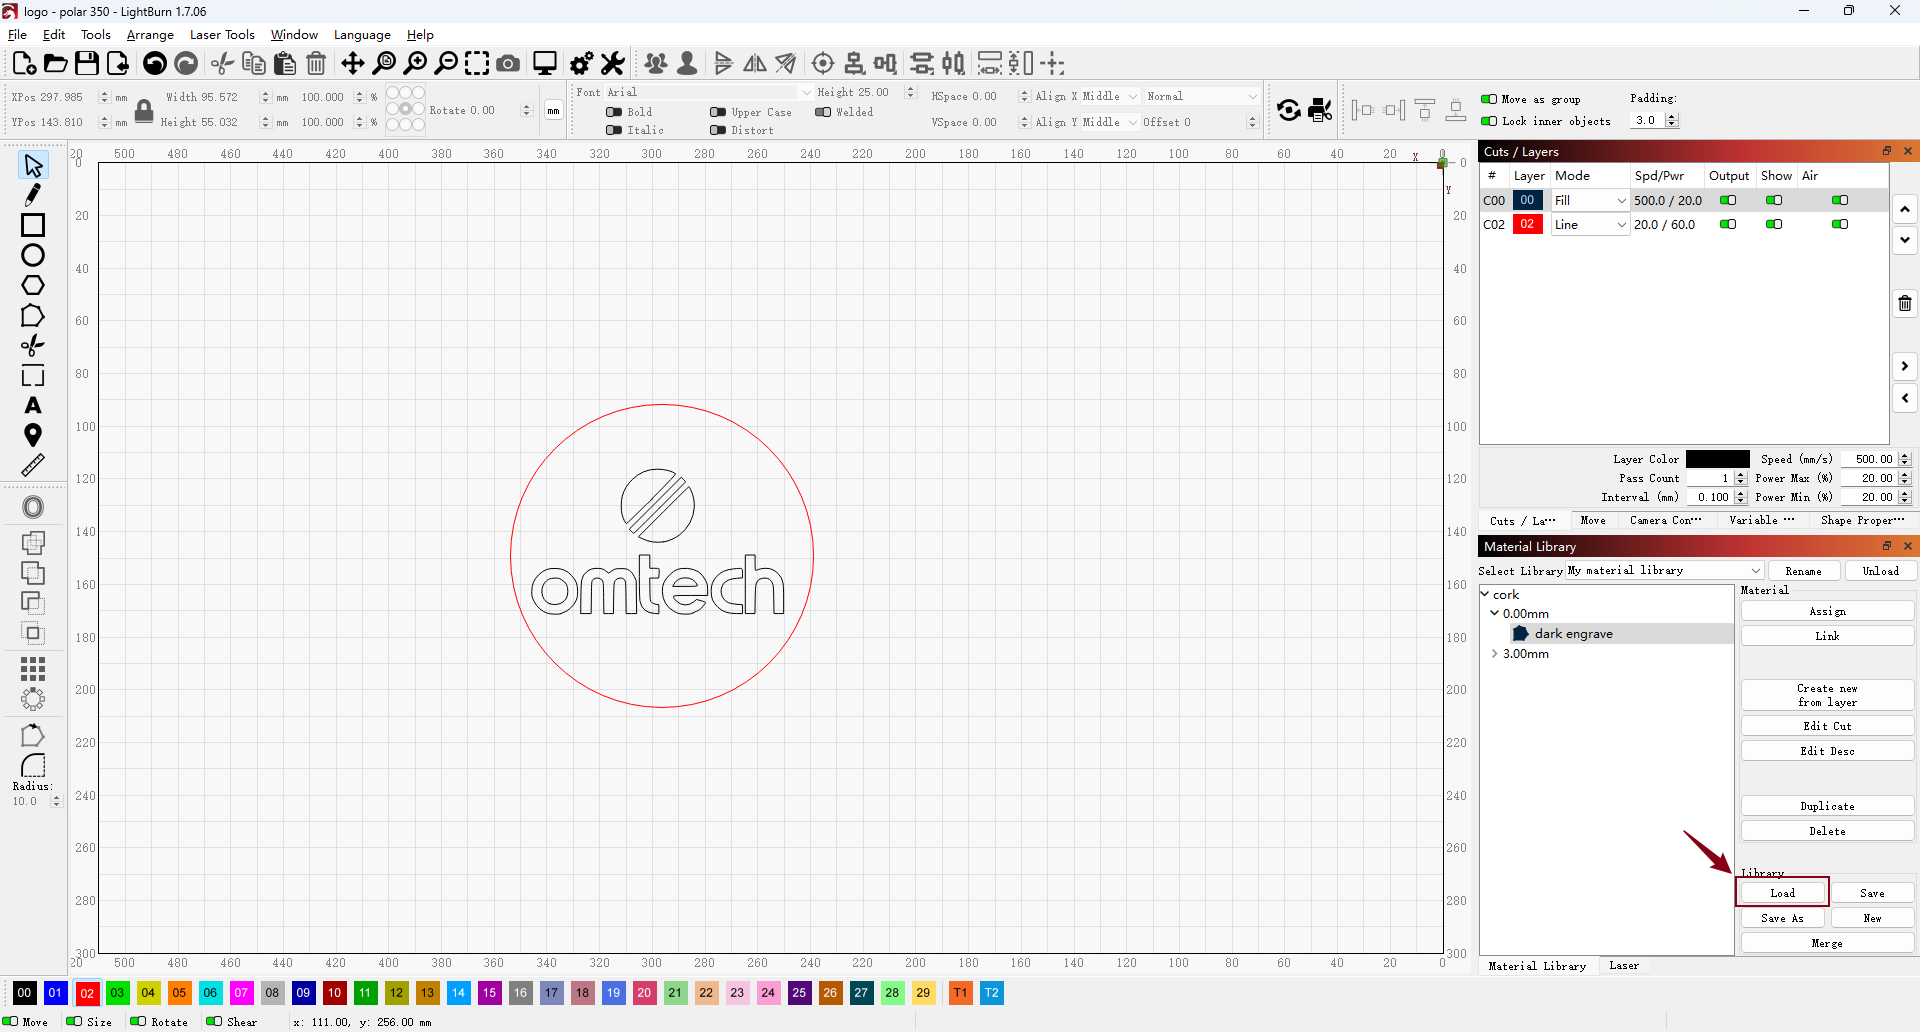
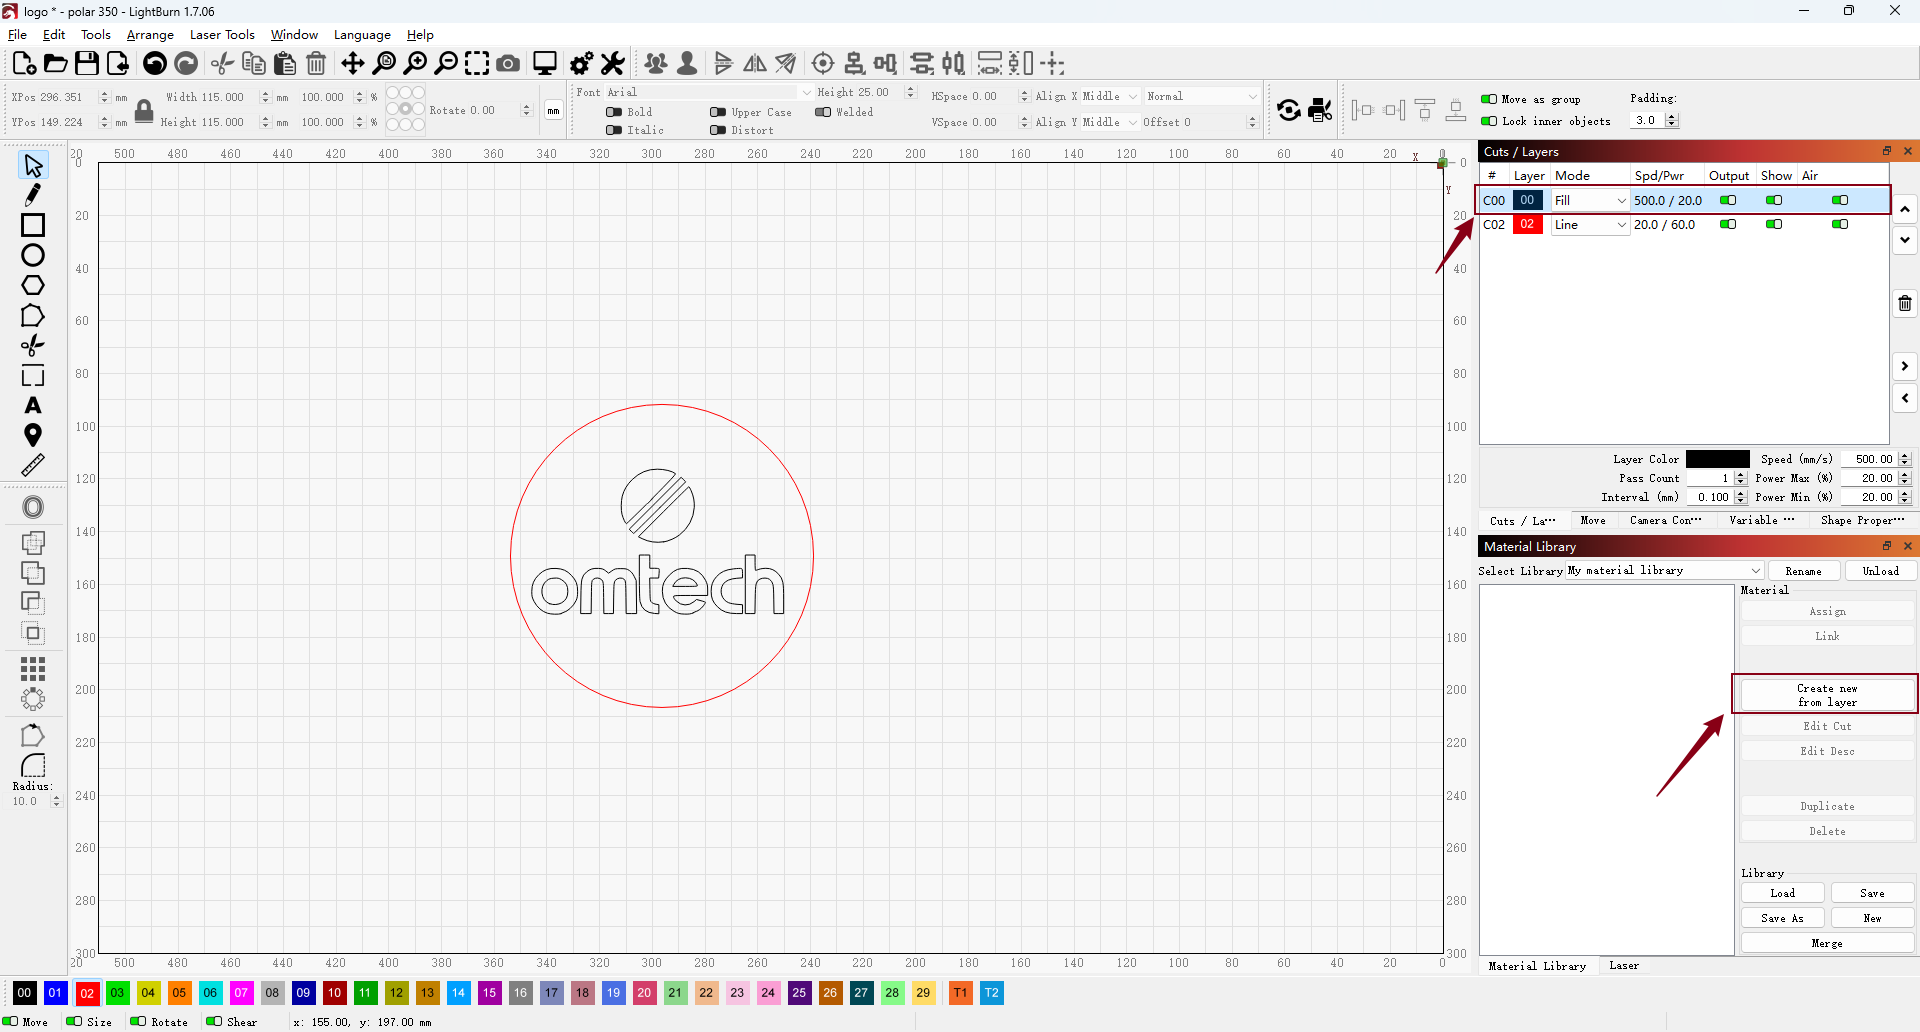
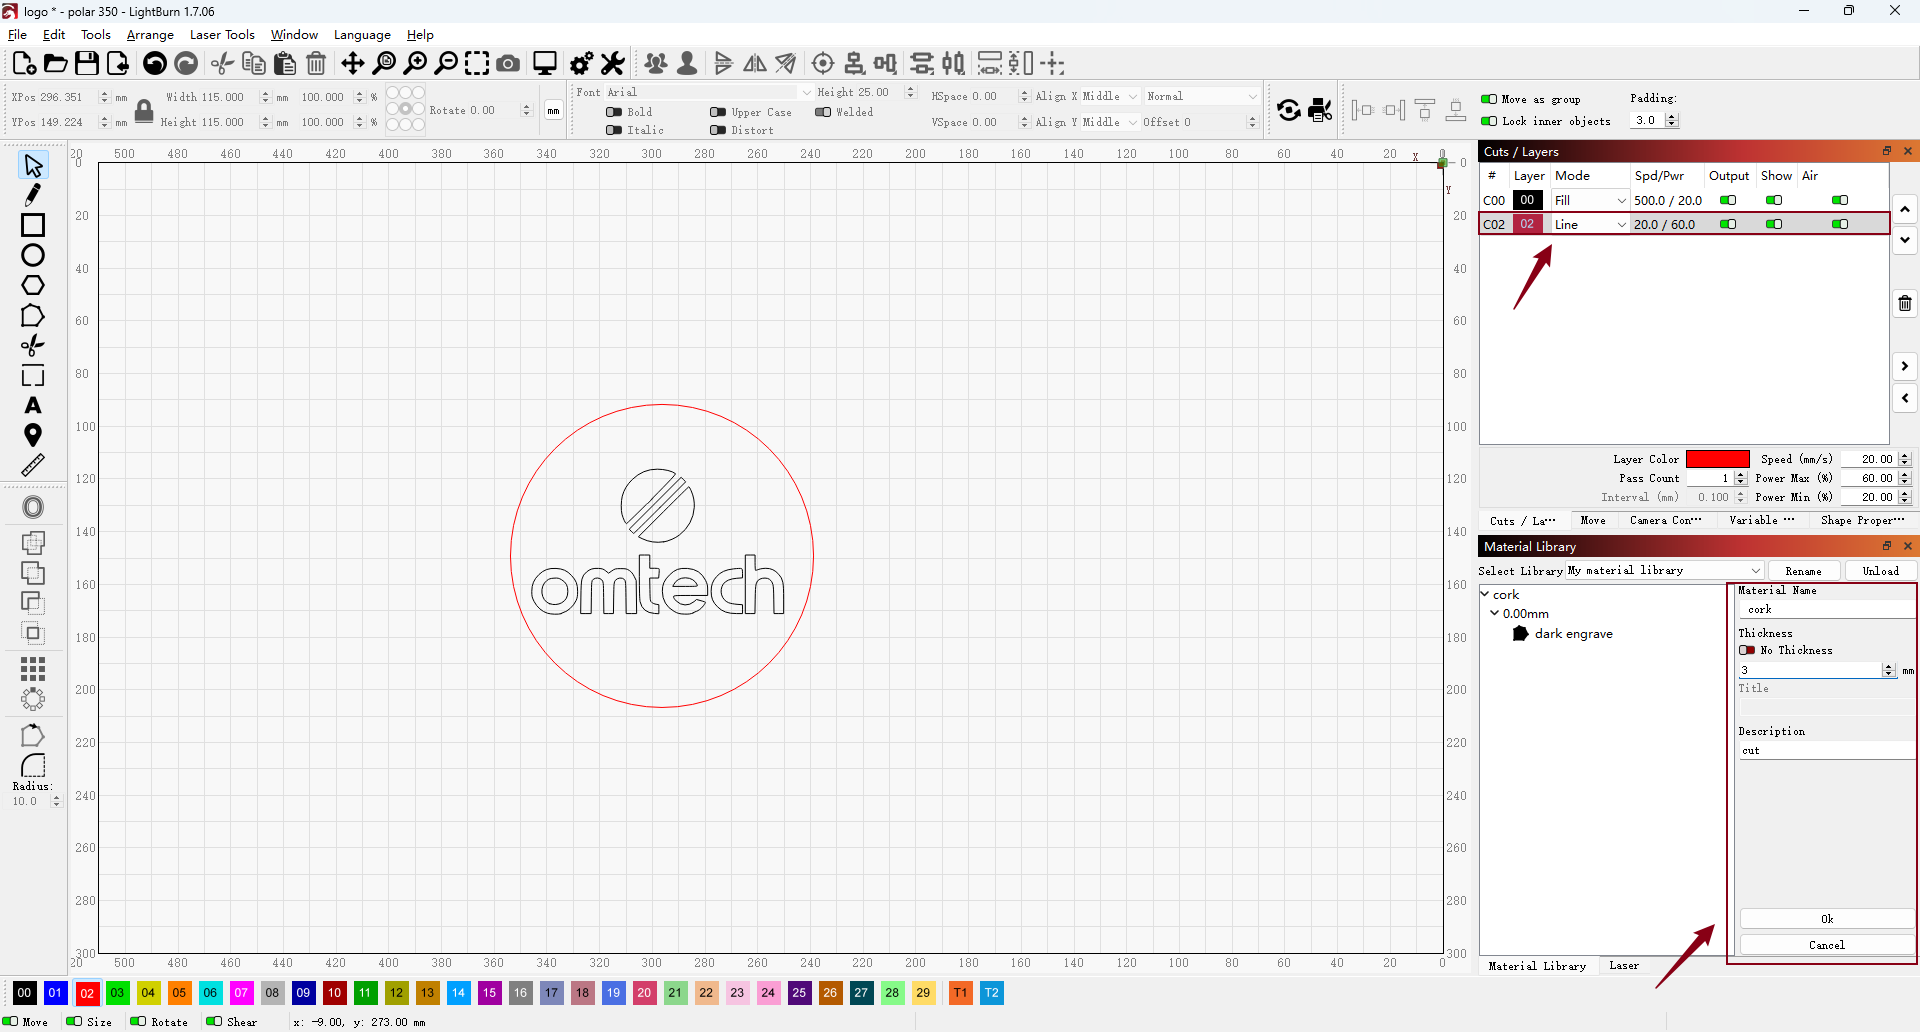
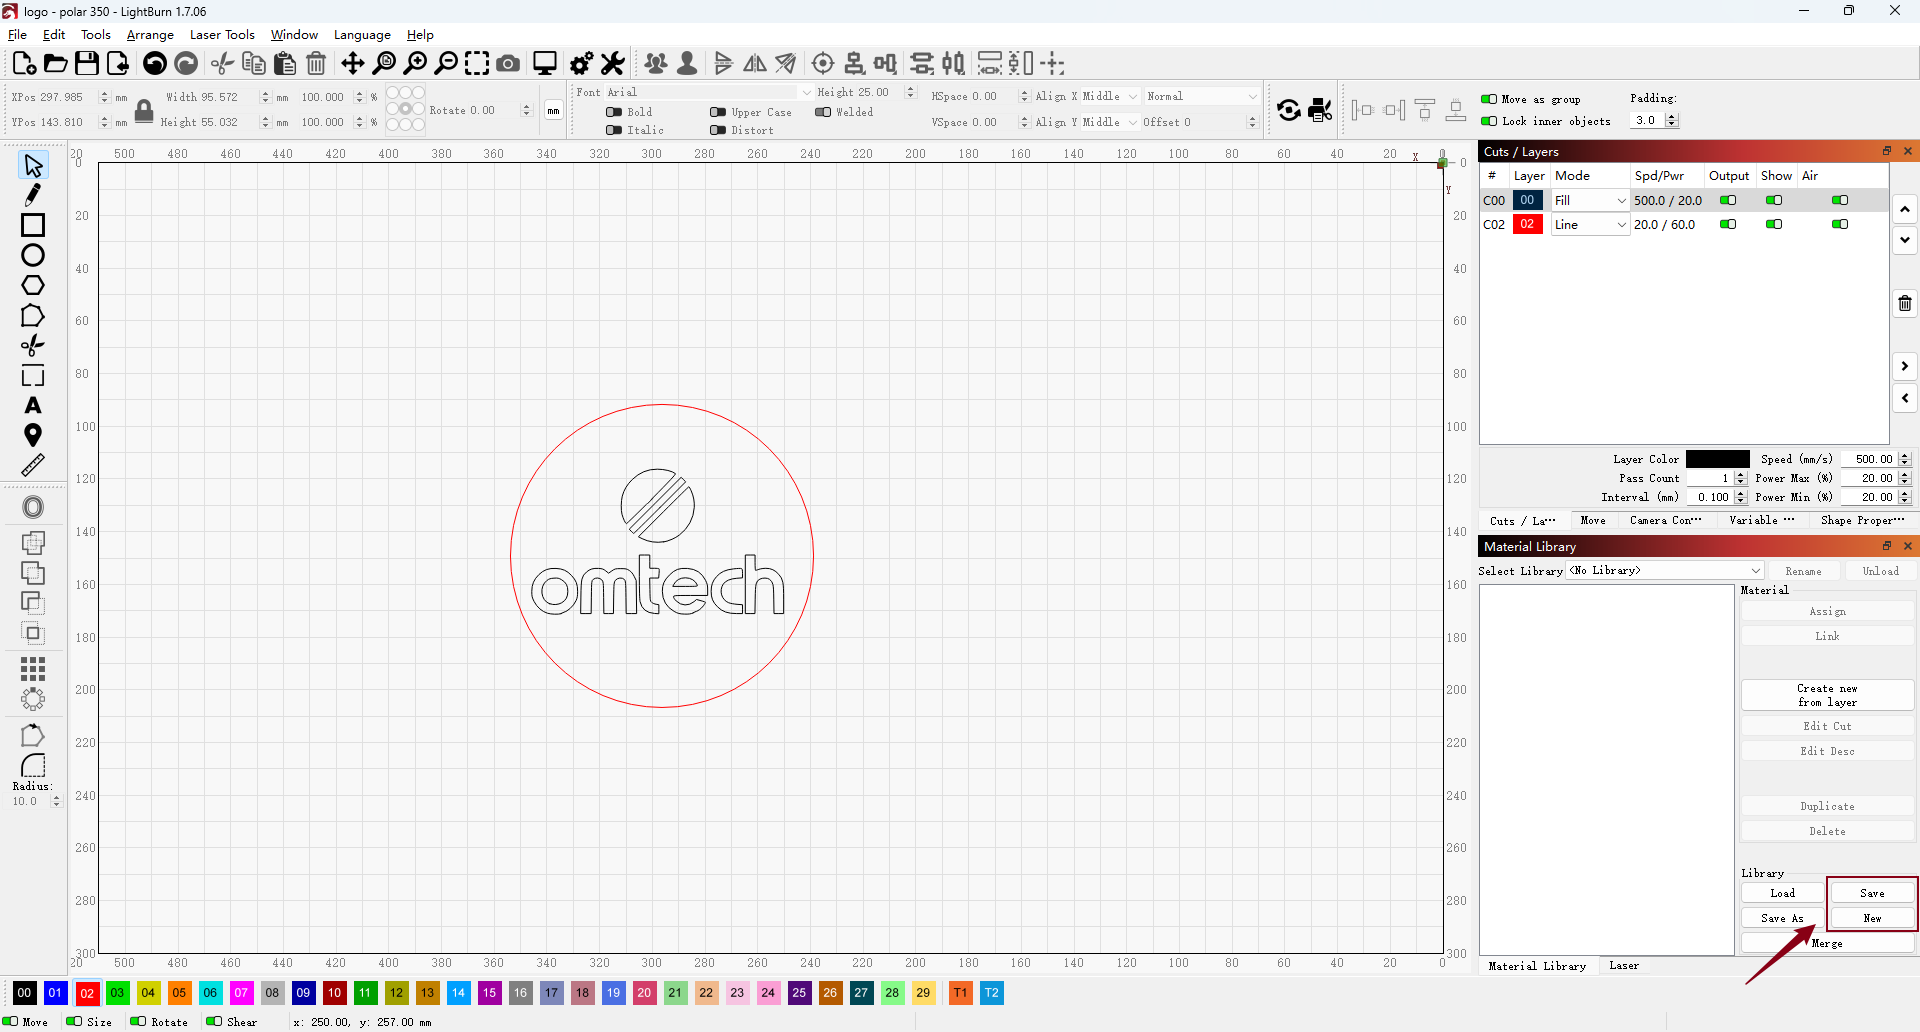
6. For this project, I’m making a coaster. I imported the OMTech logo onto one layer and centered a circle around it. Then I placed the logo on a black layer and set that layer to the Fill mode for engraving. For the red outer circle, which I wanted to cut out, I set the layer mode to Line based on my cut test results.
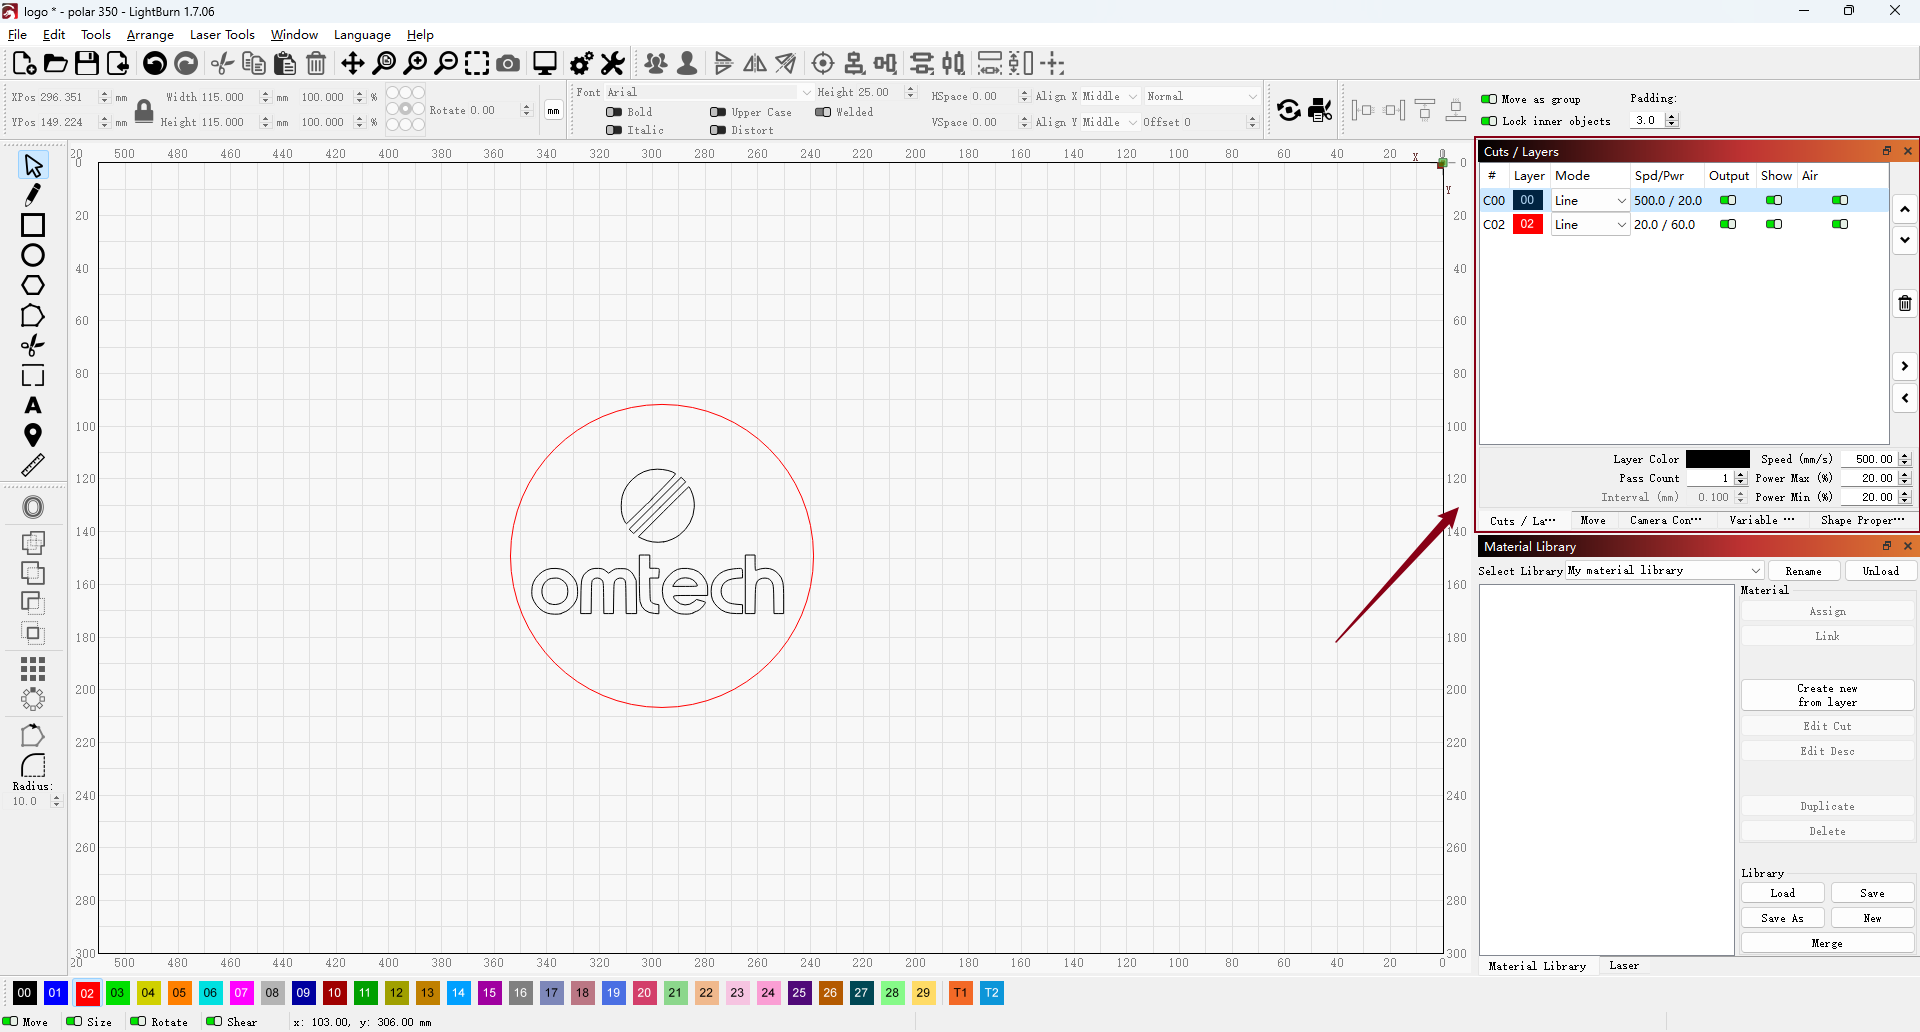
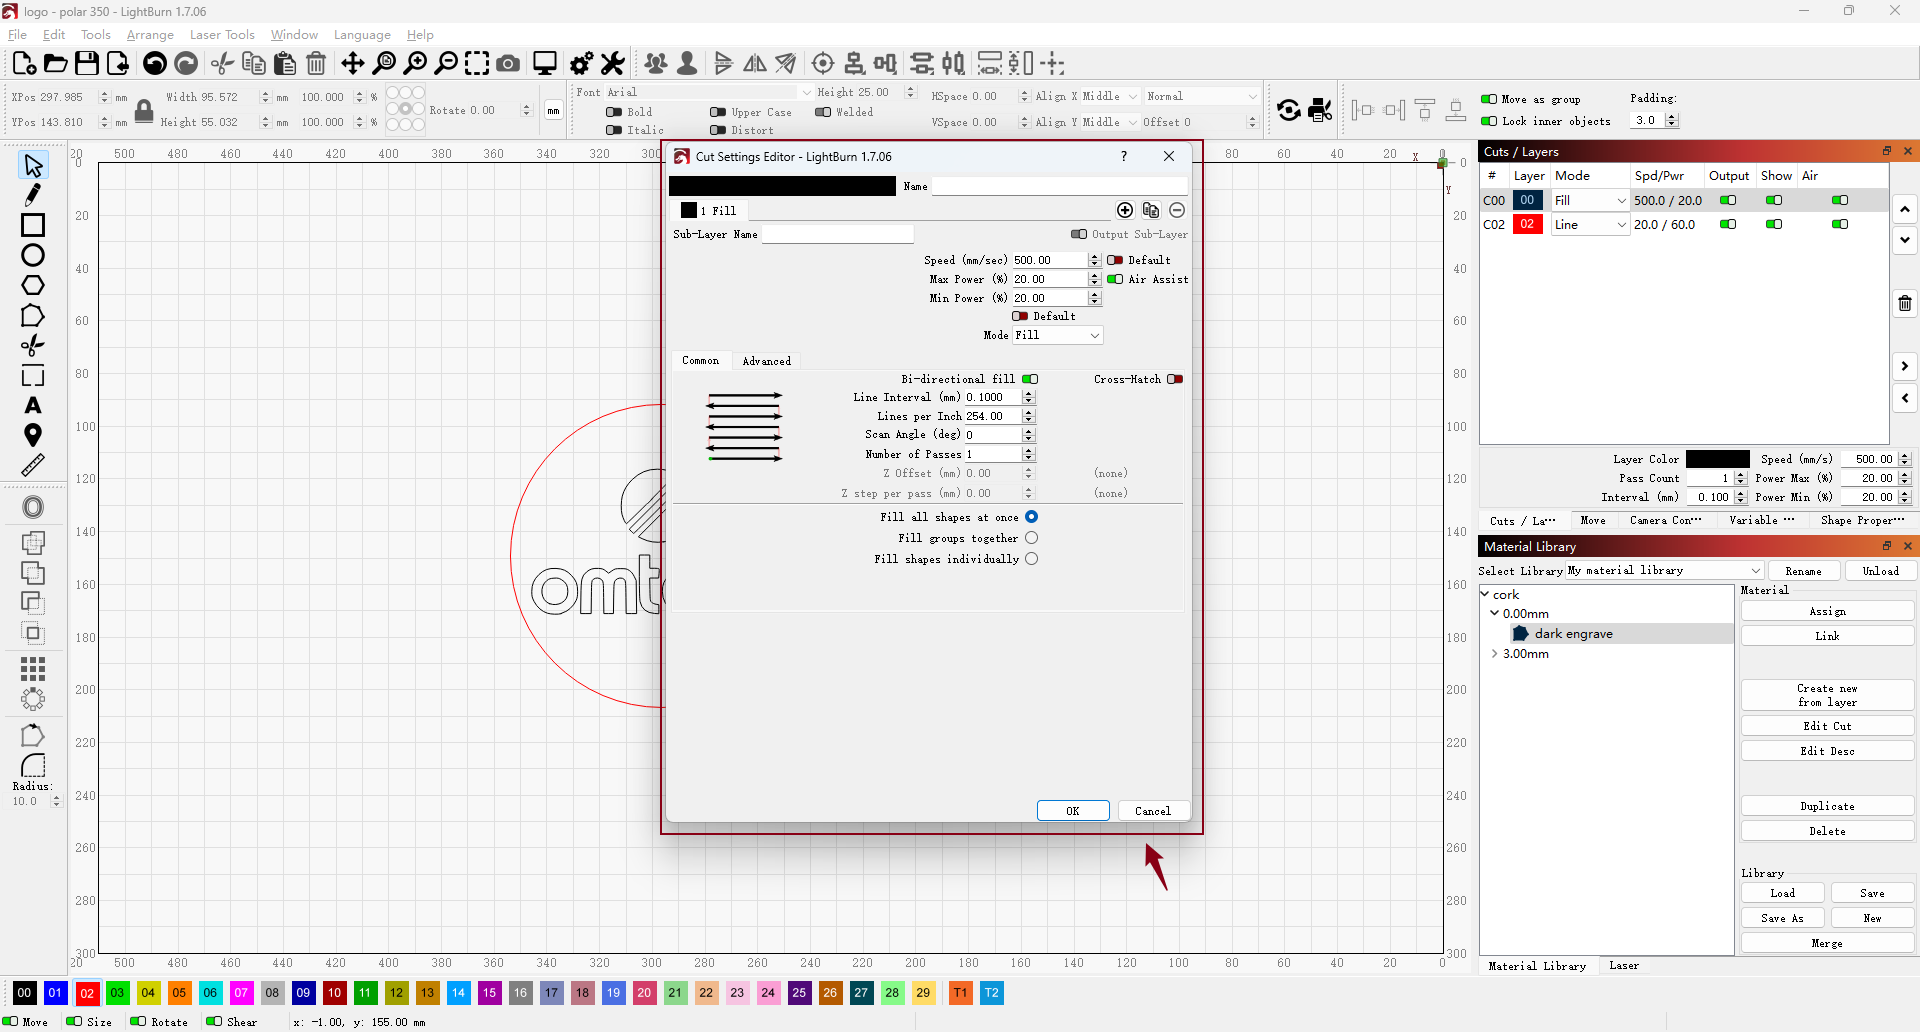
7. With all the layers set, select the fill layers under Cuts / Layers, then click Create New from Layer in the Material Library window to save these settings.
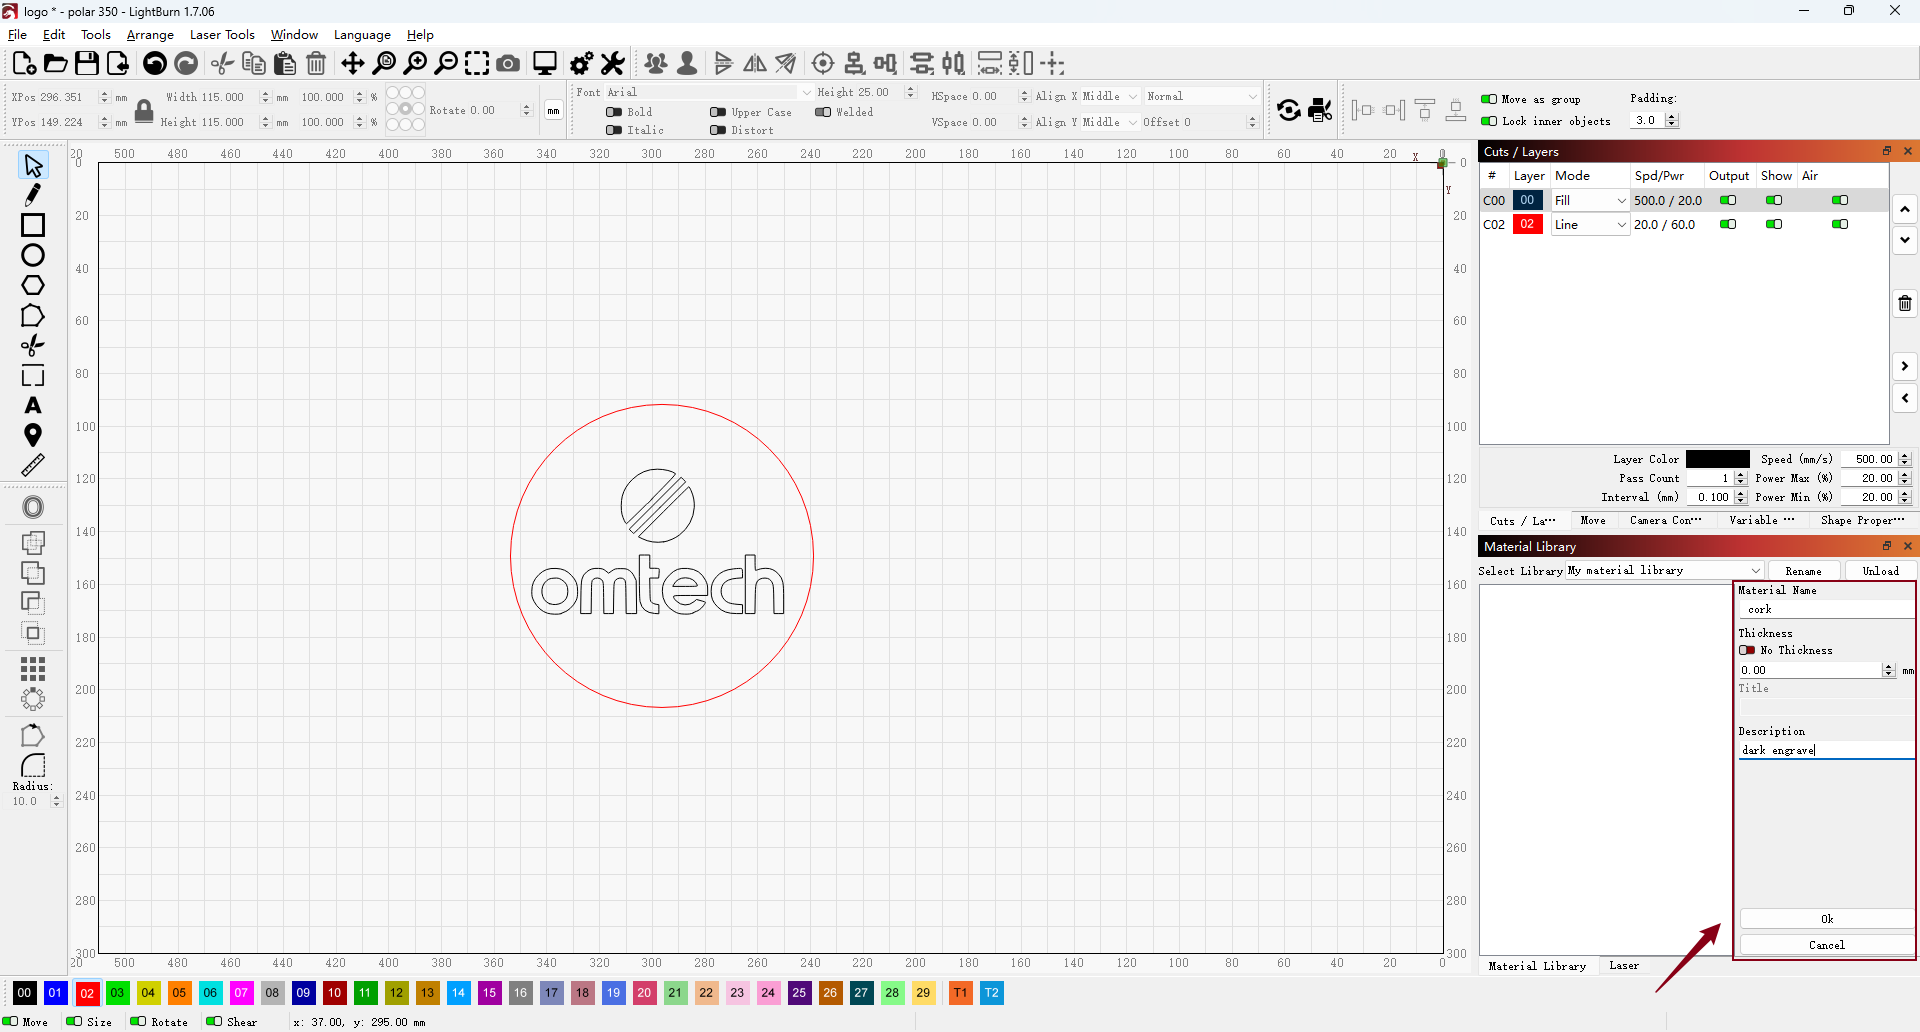
8. Next, enter some additional details for your entry. Start by specifying the material name—such as “cork” in this case. Then enter the material thickness, required for operations like cutting (but not for fill layers). Optionally, you can add notes under the title, such as “light engraving,” “dark engraving,” “image,” or “cut,” to help identify the preset.
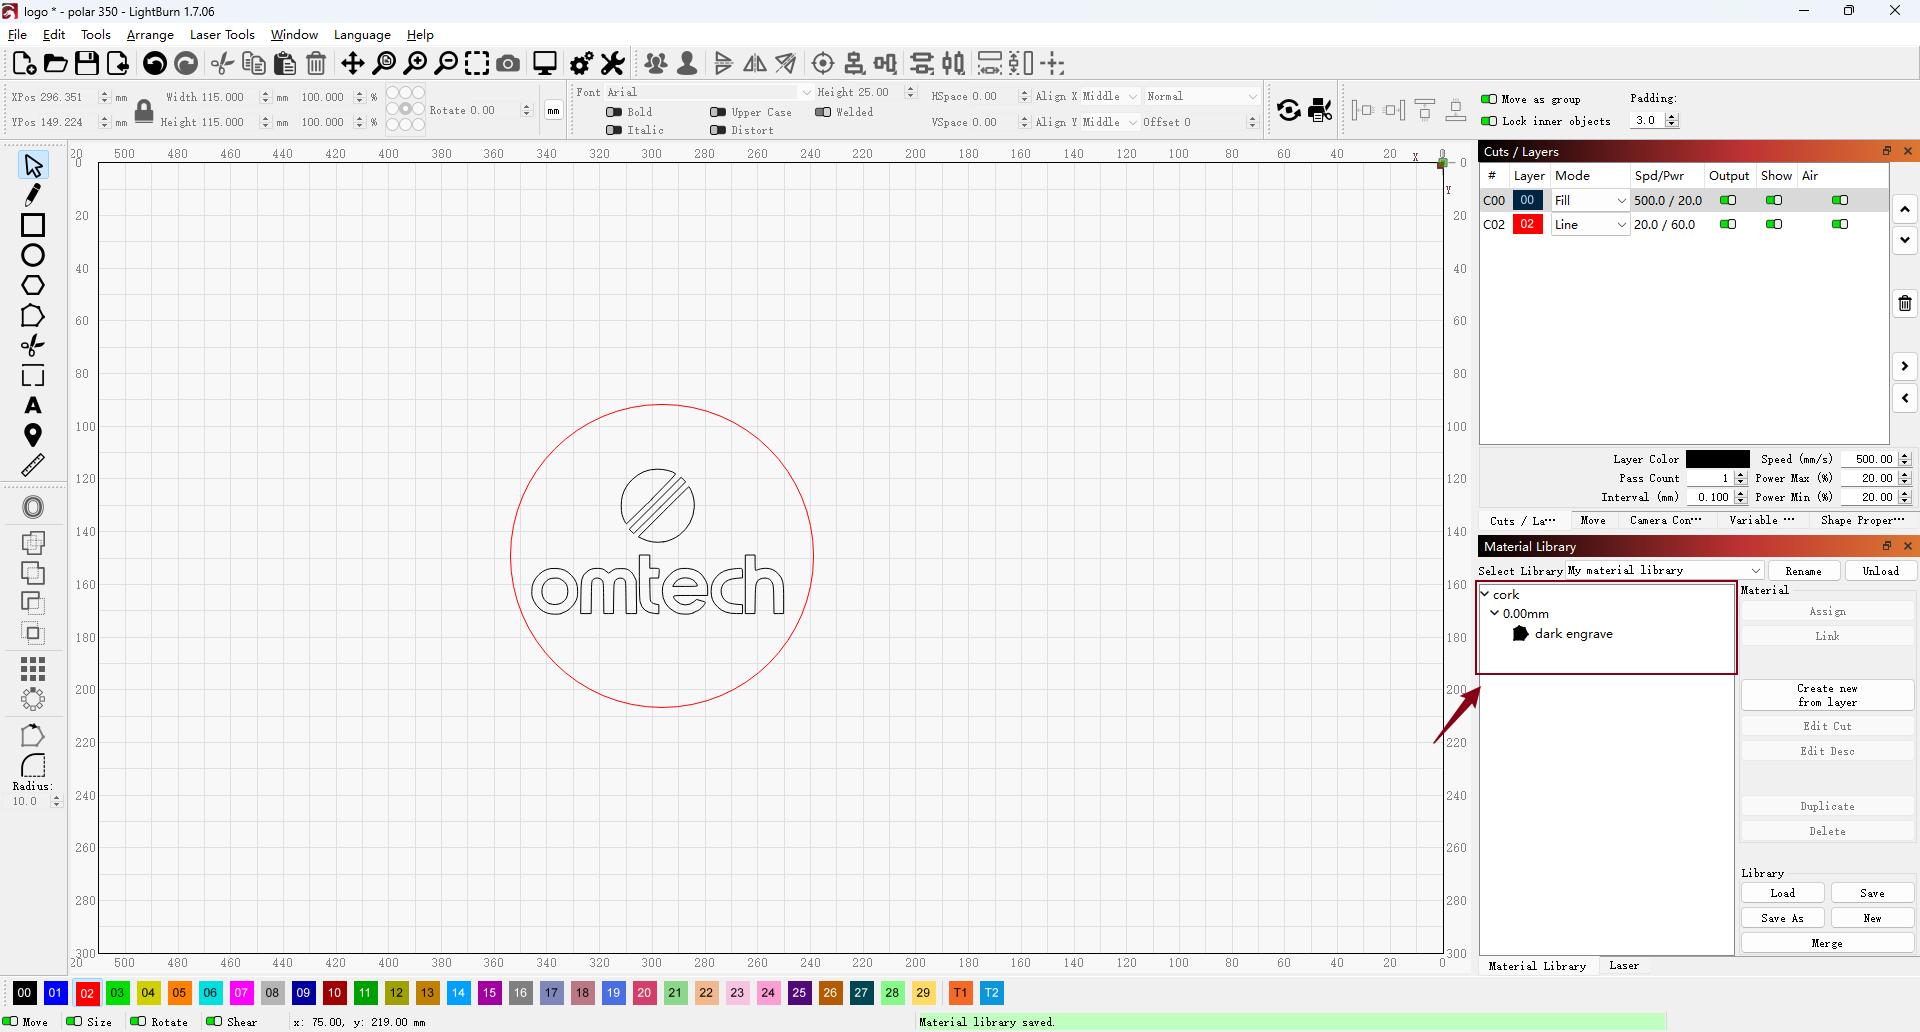
9. You’ll now see the new entry for cork displayed in the Material Library, complete with the details you entered.
¶ Assign a Library Entry with Saved Settings
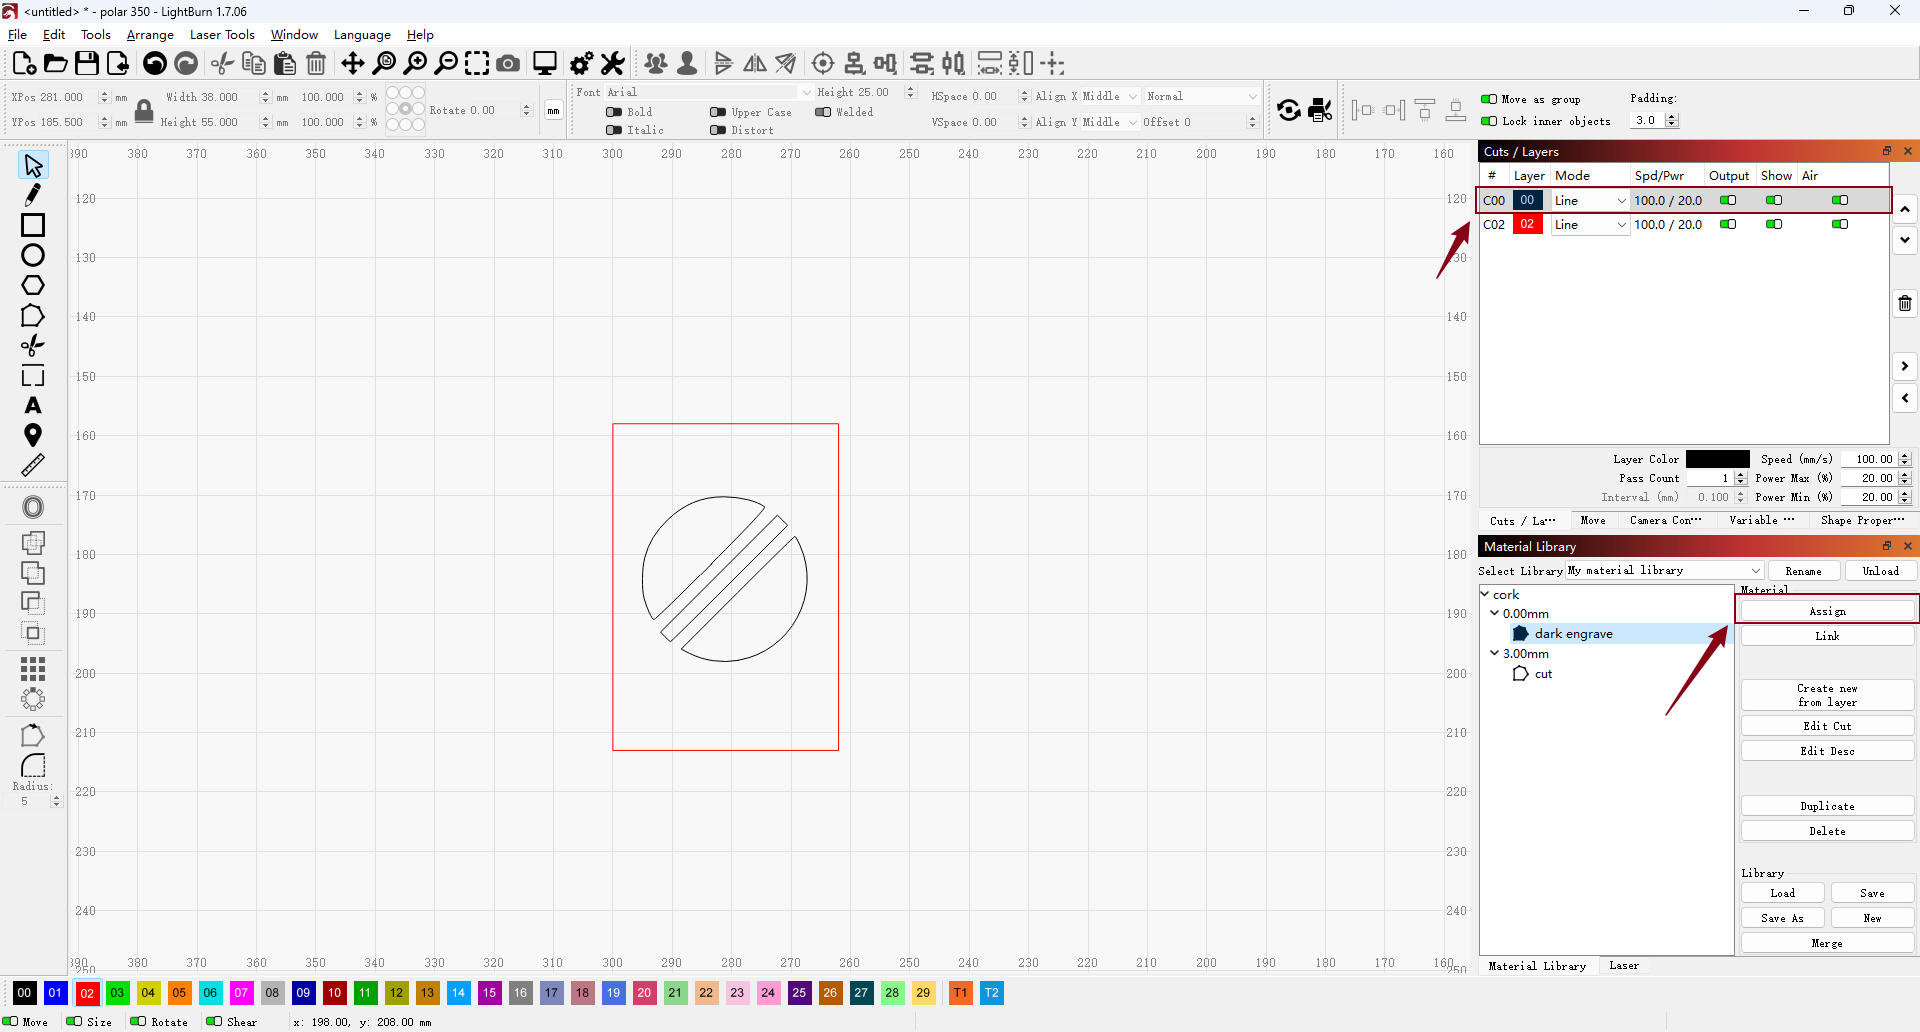
1. Next, set up the cut layer by entering the material thickness—3 mm for the cork used here—and update the description to “cut”. Then click OK to create the second entry in the library.
By saving these settings in the library, you can quickly apply them to any future projects.
2. To apply saved settings, create or import your design and select the layer you want to update. Then, select the desired entry from your material library and click Assign. This copies the library settings to the selected layer. Any changes you make to the layer afterward won’t affect the saved library entry, and changes to the library won’t update previously assigned layers.
¶ Layer-Specific Binding
1. There may be times when you want to maintain a dynamic connection between a library entry and a layer’s settings. This is where the Link feature comes in. Clicking the Link updates the selected layer with the library settings, and any future changes made to the library entry will automatically update the linked layer as well.
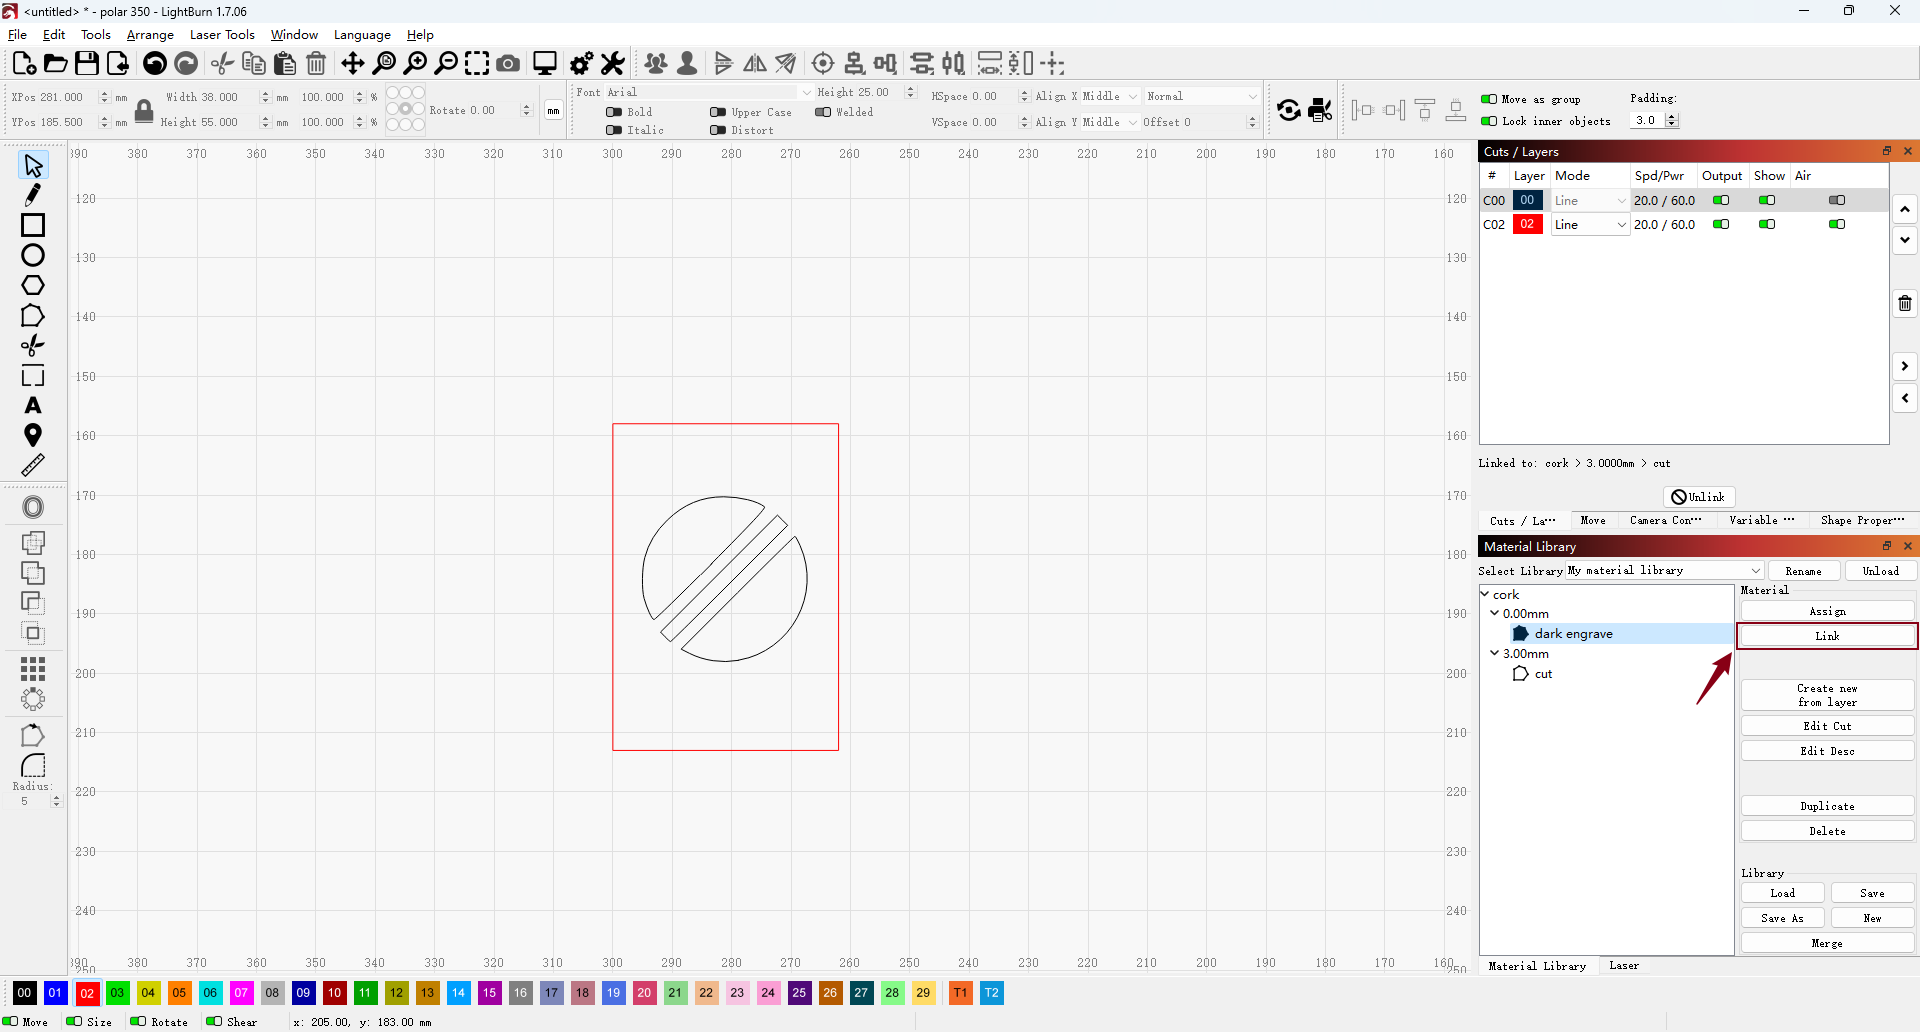
2. When you link a setting, any changes made to the material library entry will automatically update all projects linked to that setting. Selecting an entry to make it active allows you to edit both the library details and the cut settings. You can also duplicate or delete entries using the buttons within the Material Library.
¶ Duplicate the Material Library
You can create as many libraries as needed to accommodate different laser types or lenses. To create a new library, click New in the library window and save it with your desired name. To duplicate an existing library, load it, then use Save As to save a copy under a new name.
¶ Open an Existing Library
Click the Load button to open a File Explorer window, where you can select and open any of your existing material libraries.
You should now have a clear understanding of what the Material Library is for, how to save settings in it, and how to apply those settings to your layers. When working with a new material and identifying the ideal settings, ensure you add them to your library for easy use in future projects.